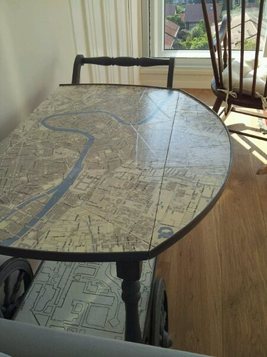
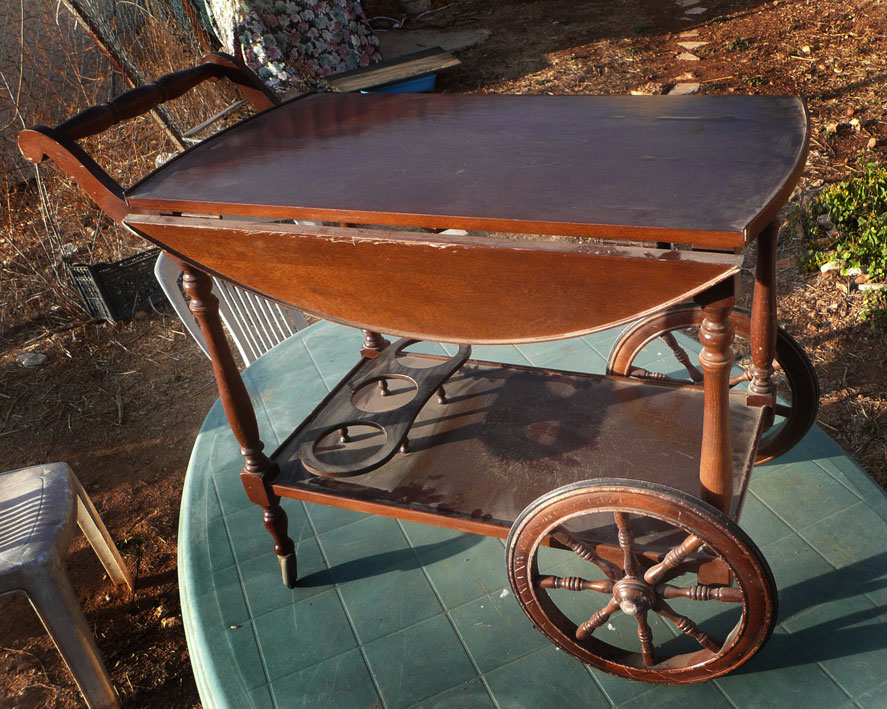
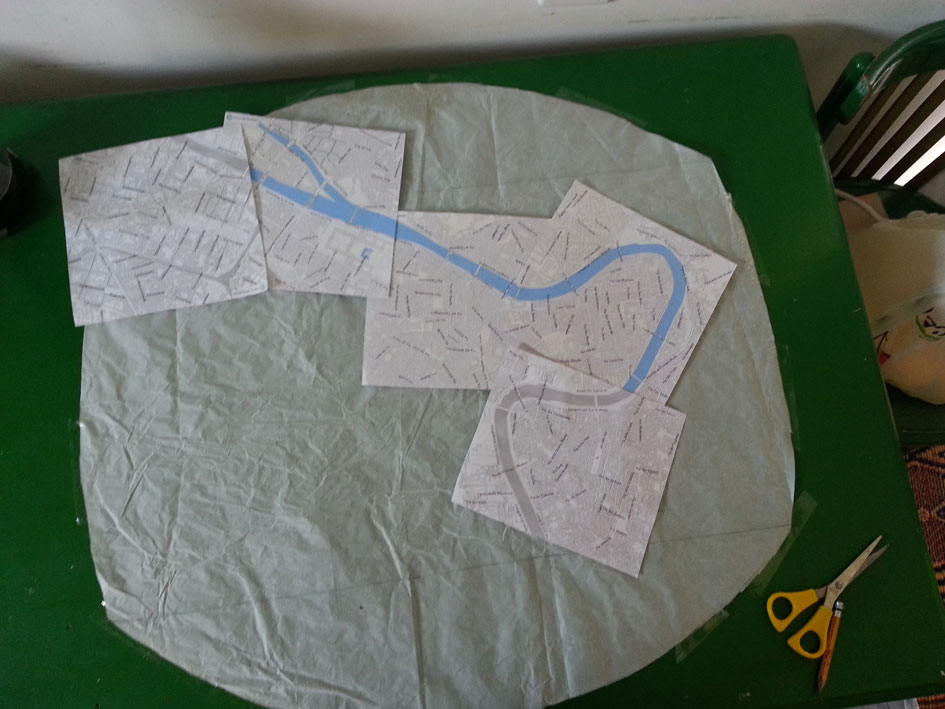
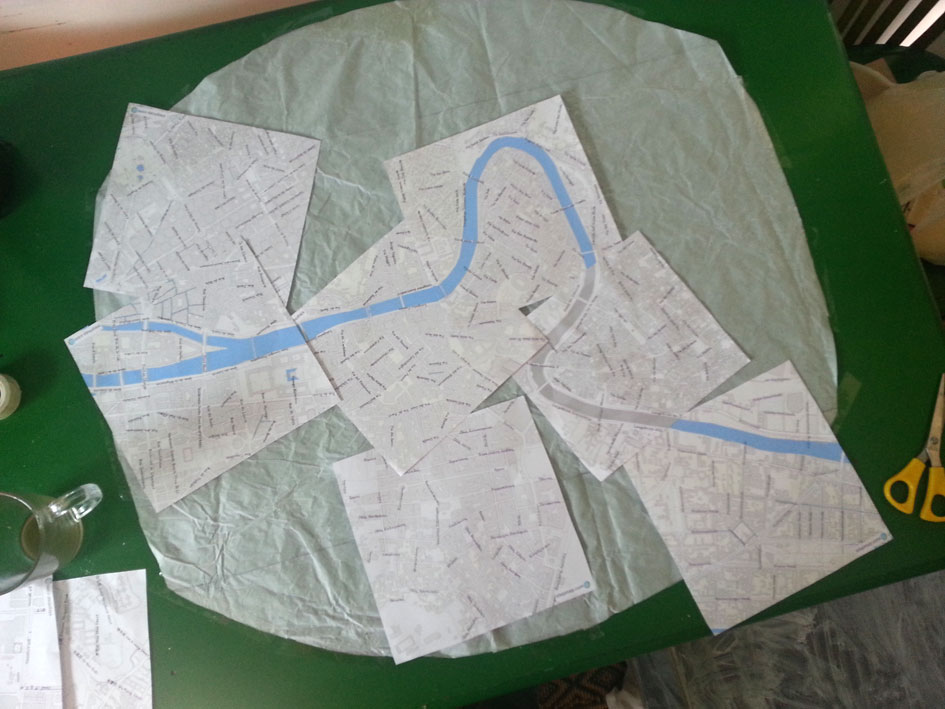
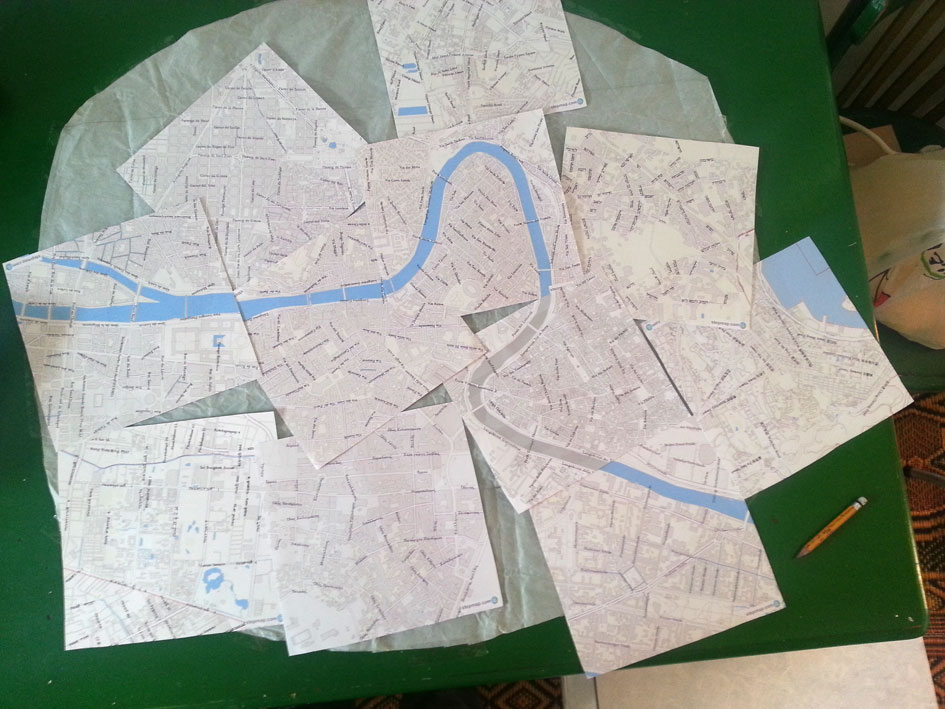
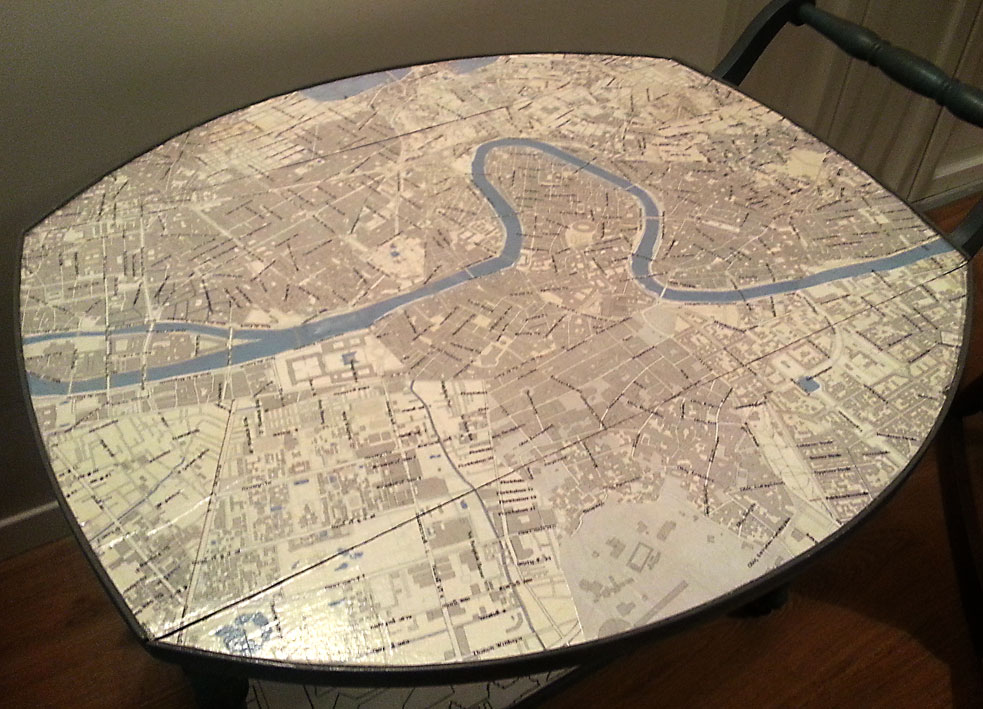
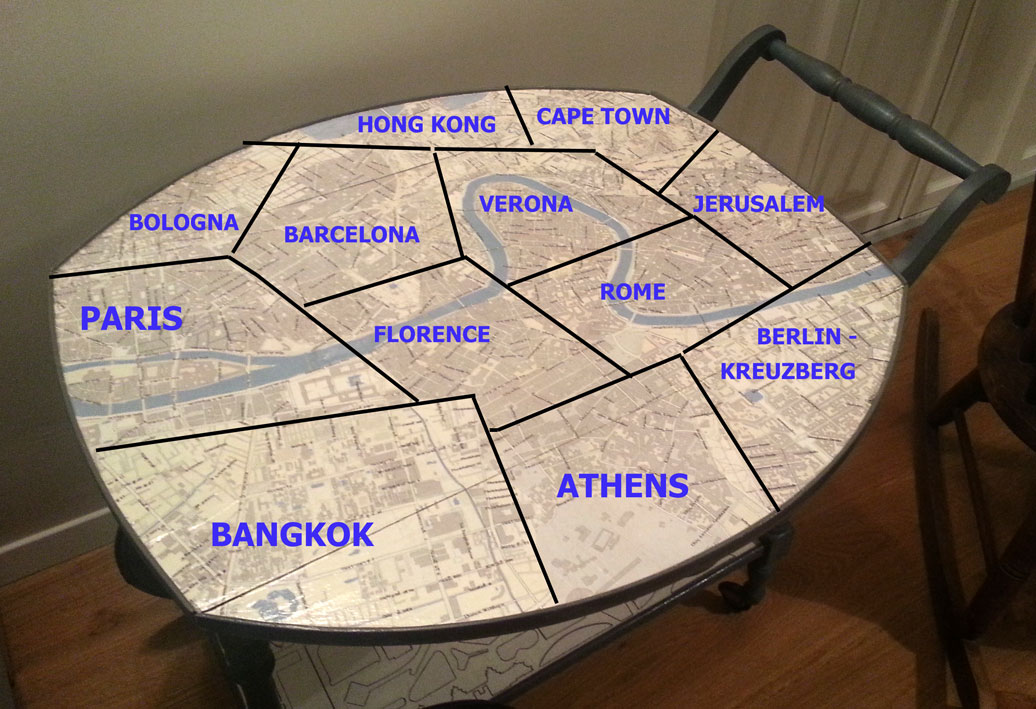
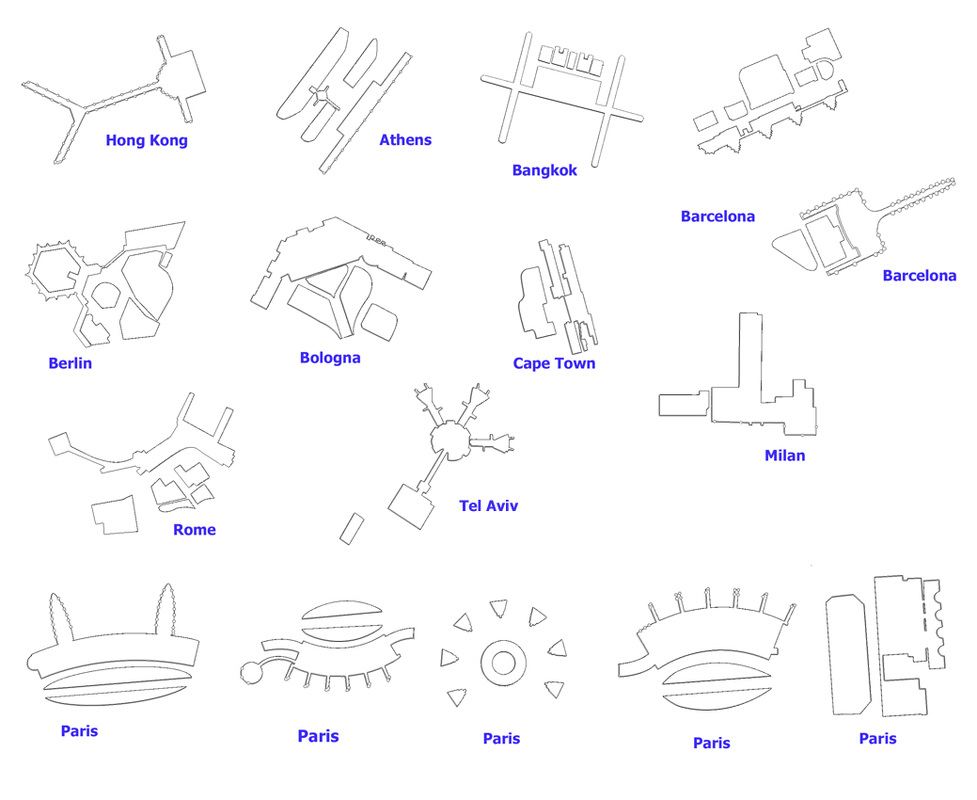
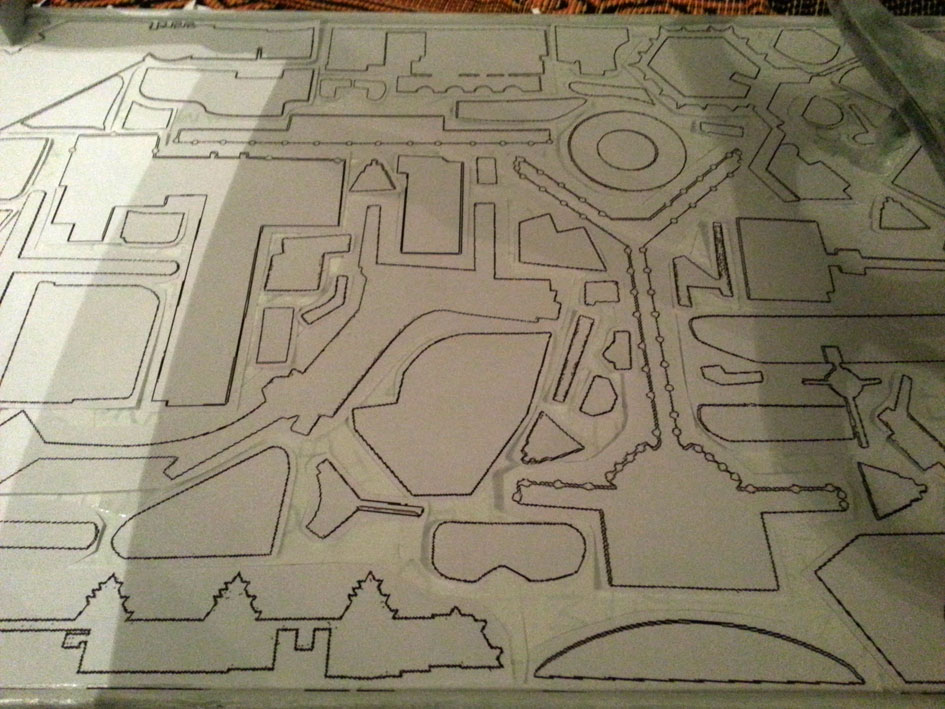
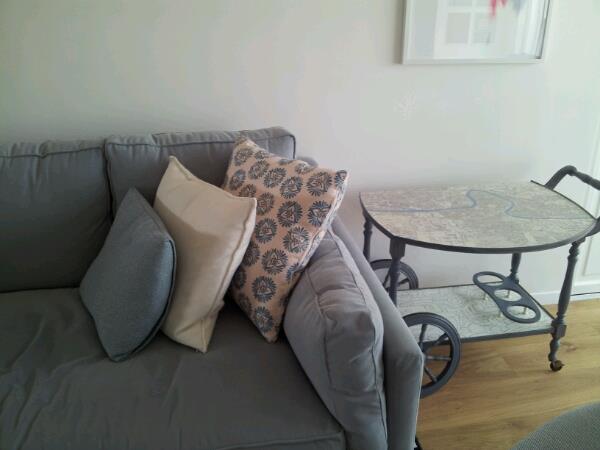
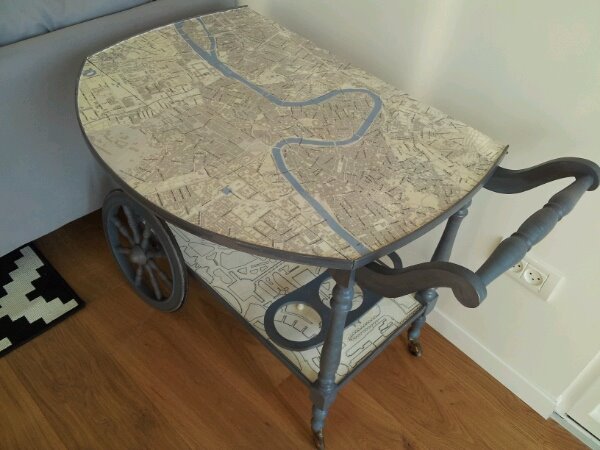
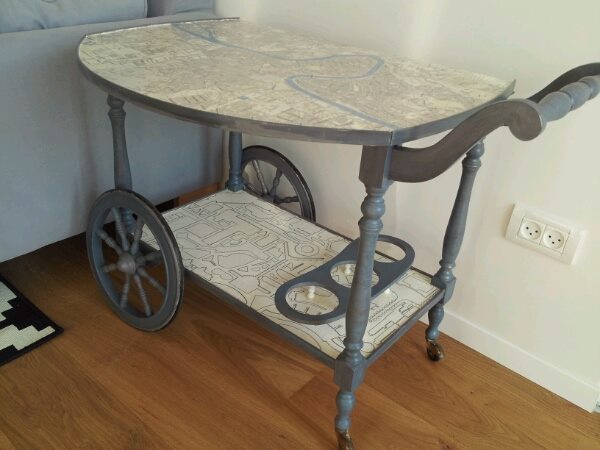
 This a a reproduction bar on wheels made in the 80s, that I was asked to cover with decoupage of my choice. The couple who own it travel quite a bit and I chose to use that as an inspiration. I asked them which cities they had visited together and the area where they had stayed. Then I took street maps of the cities and designed them in three tones white (streets), grey (buildings) and blue (water). These maps I merged together in what (from a distance) looks like one large city with a river running through it. The cities in the map are: Paris, Bangkok, Athens, Berlin - Kreuzberg, Barcelona, Cape Town, Florence, Hong Kong, Jerusalem, Rome, Bologna and Verona For the bottom shelf of the bar I got inspiration from my sister who suggested that I should use the maps of the international airport terminals in the above mentioned countries. I made outlines of the terminals in black and white (in Photoshop) and just positioned them in a sort Tetris pattern. I painted the legs and wheels blue-grey to suit the interior style of the room that the bar would live in. Detailed pictures of the process are found below in the gallery. I am not adding captions at the moment since I've found that it messes up the pictures if viewed on a mobile phone. So I will let the pictures speak for themselves:
0 Comments
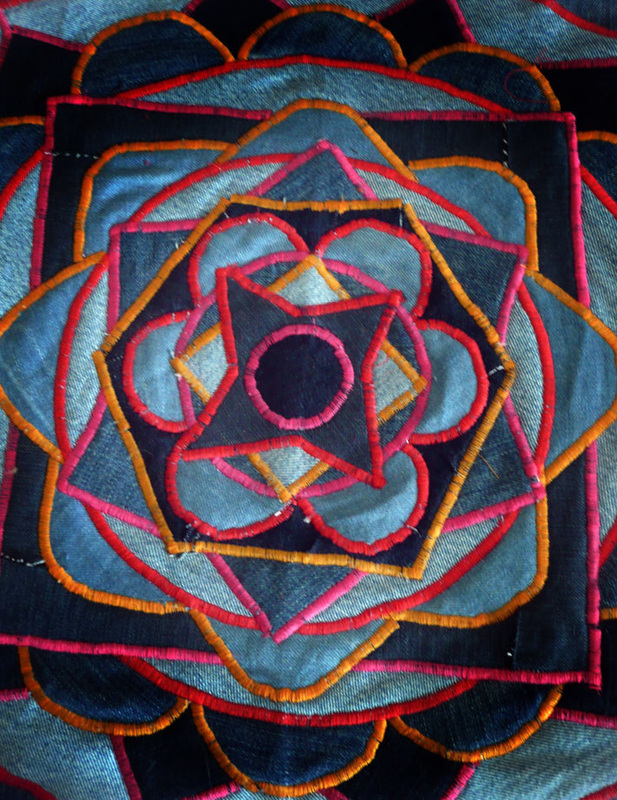
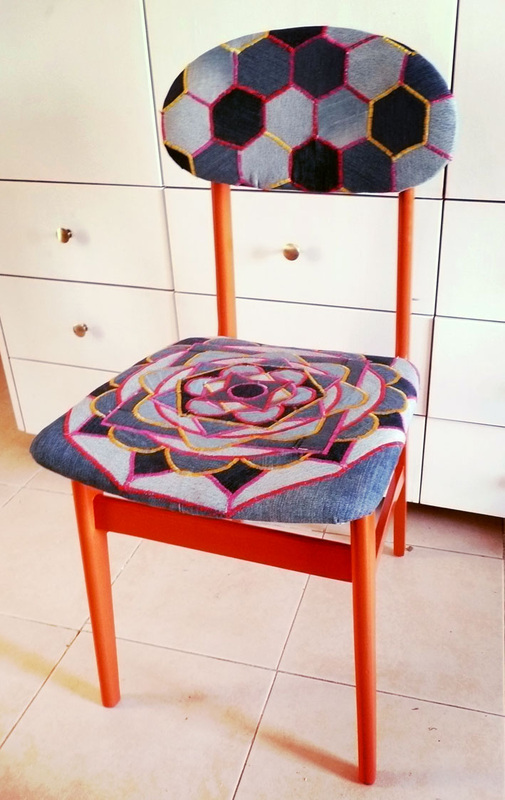
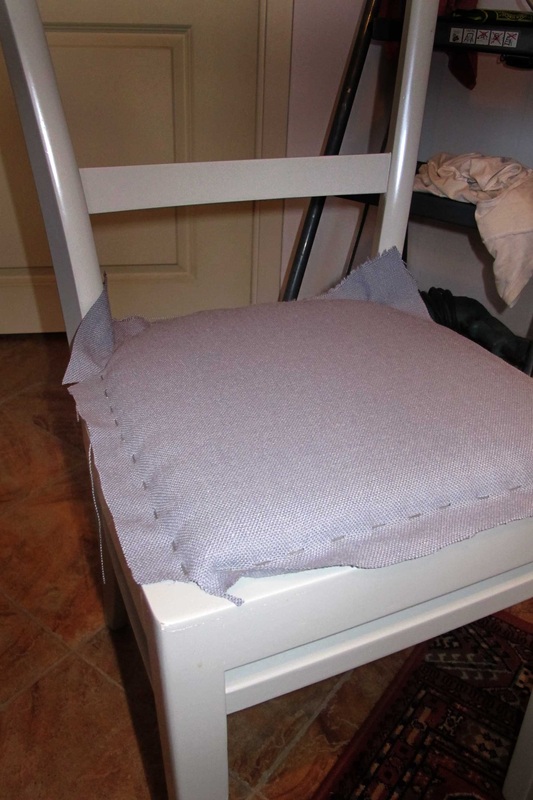
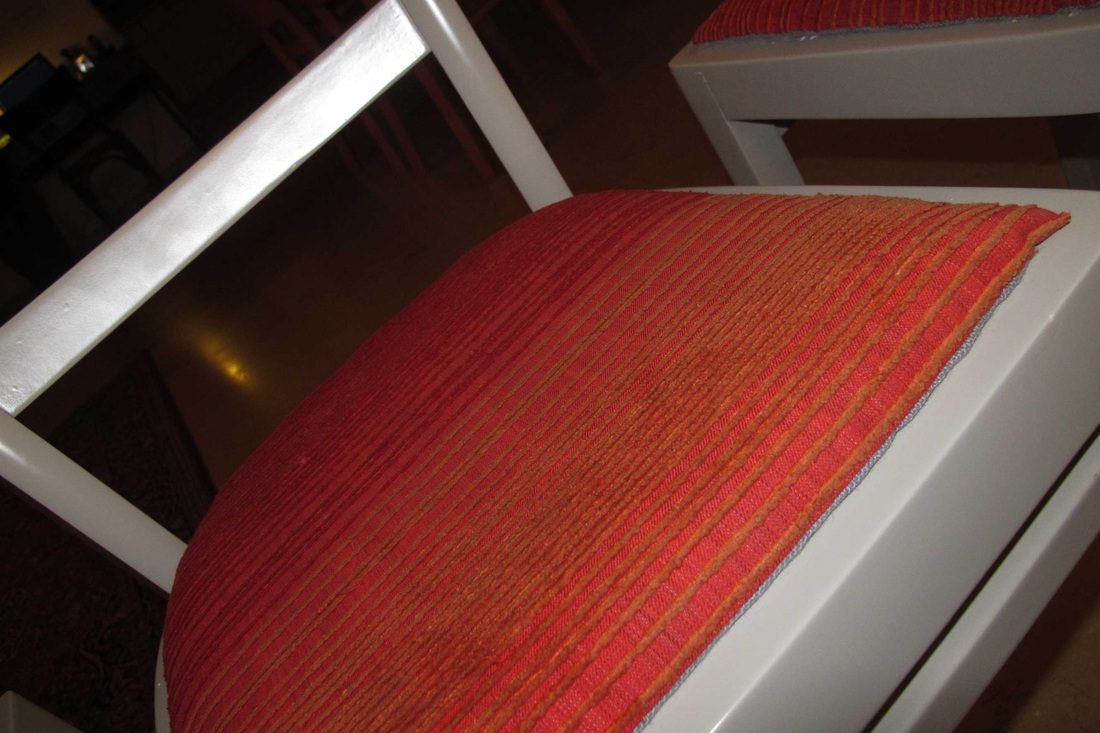
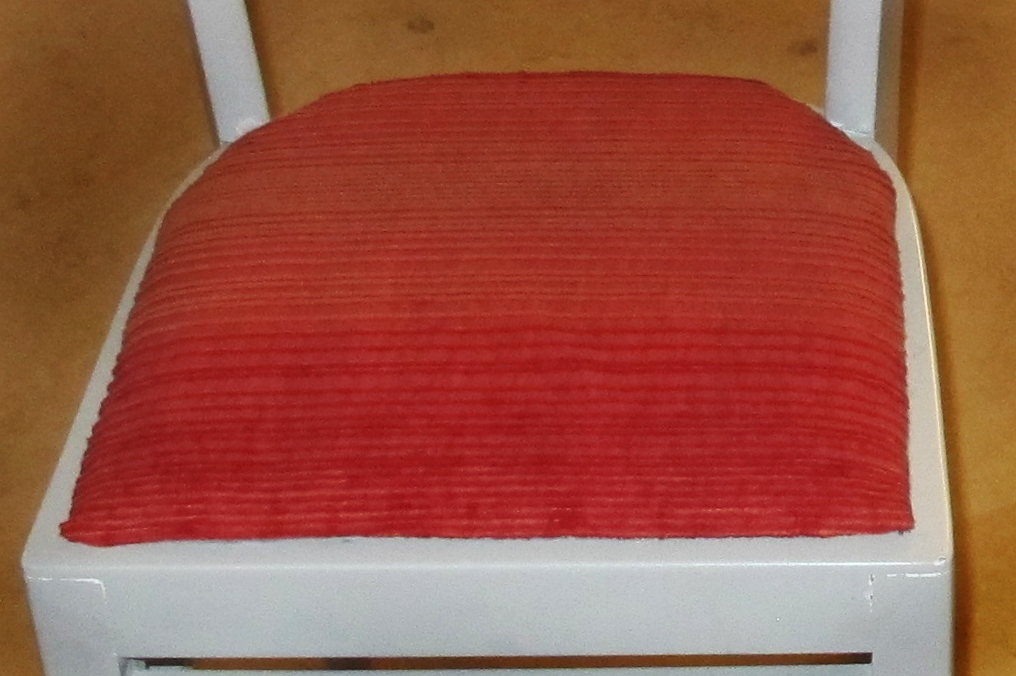
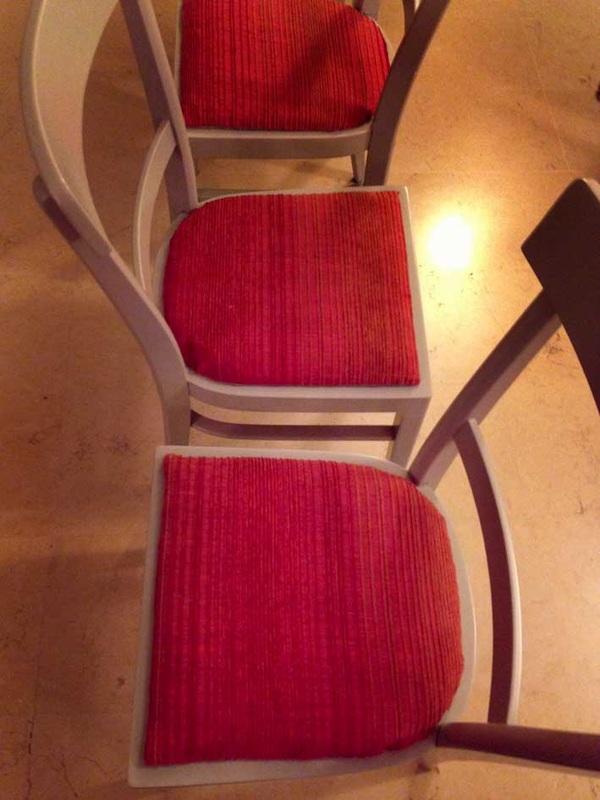
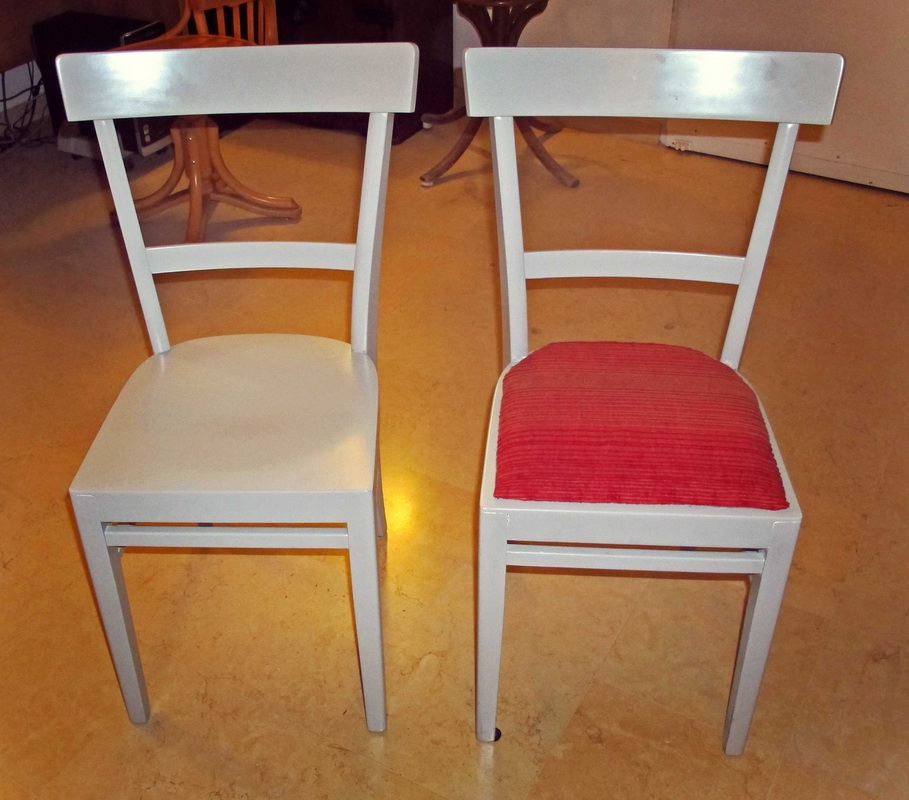
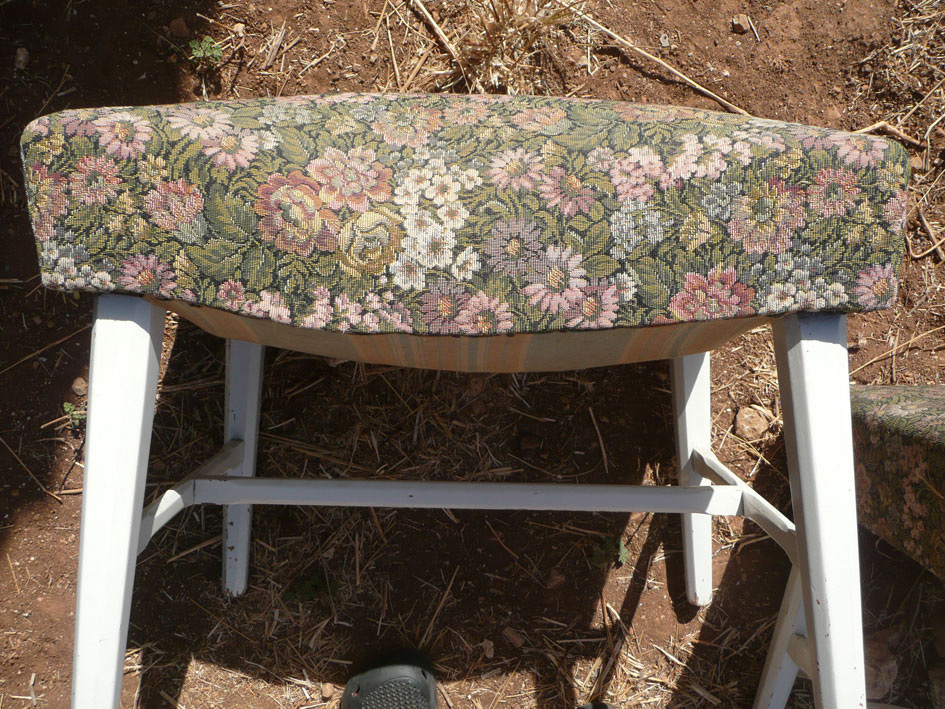
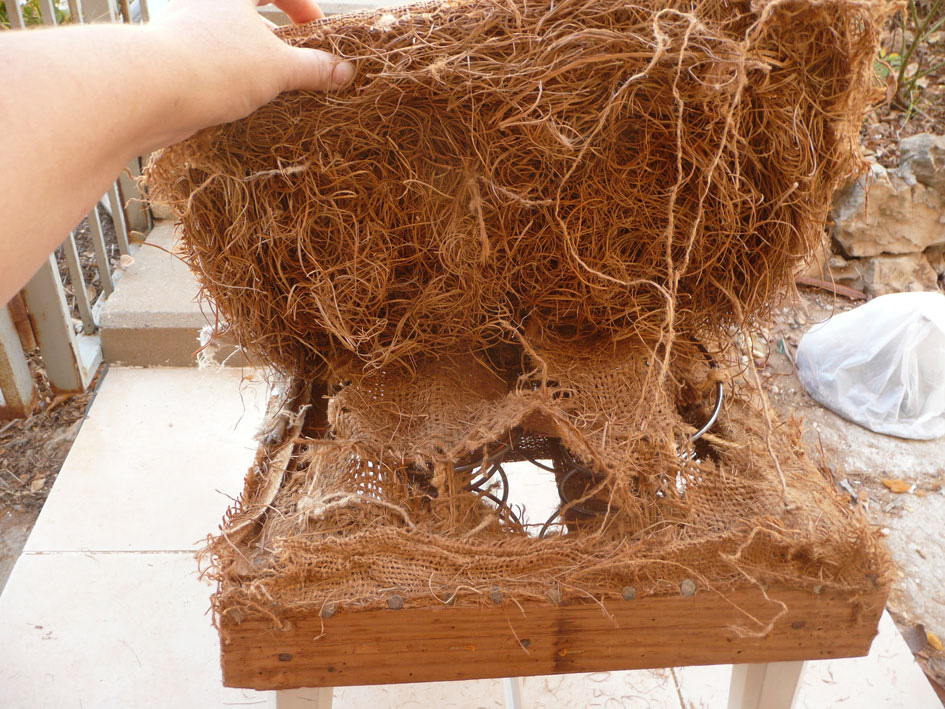
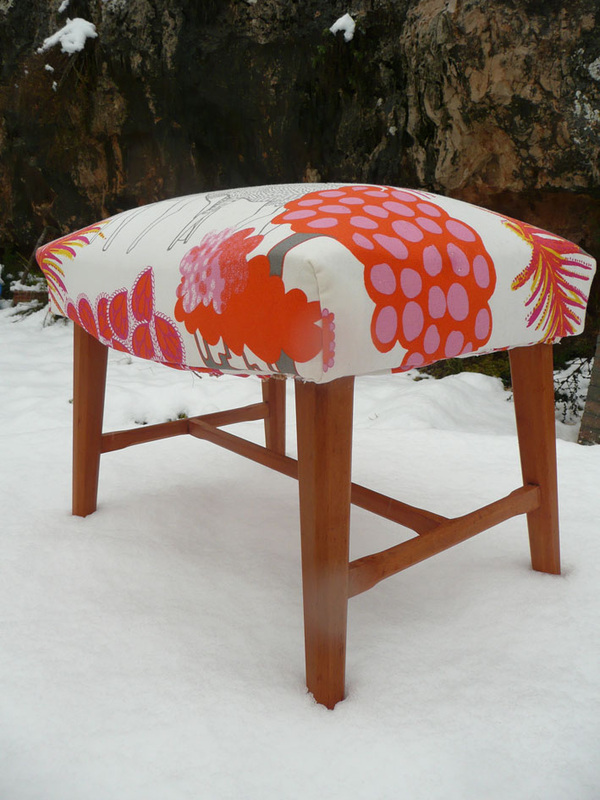
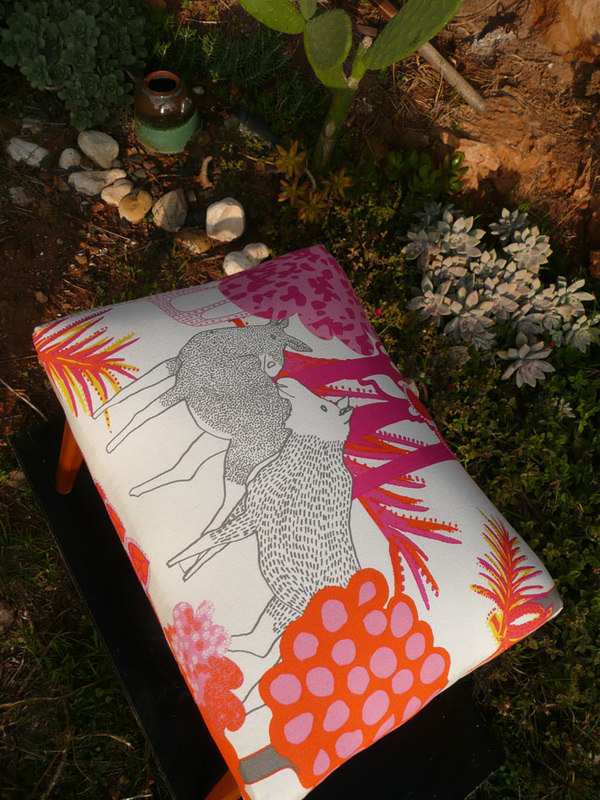
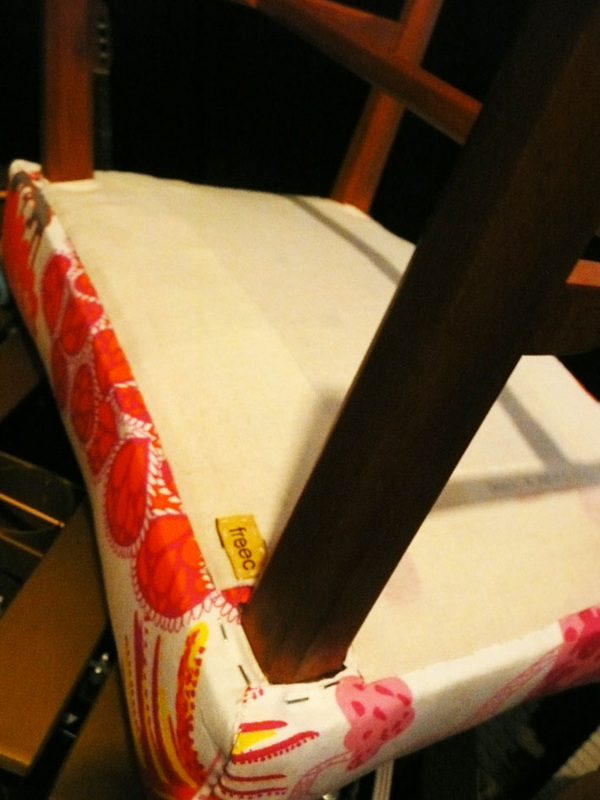
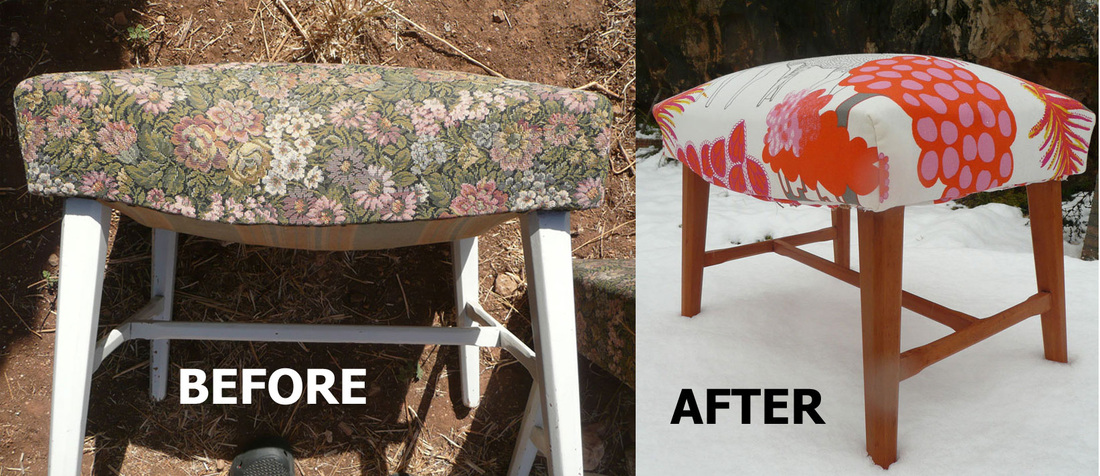
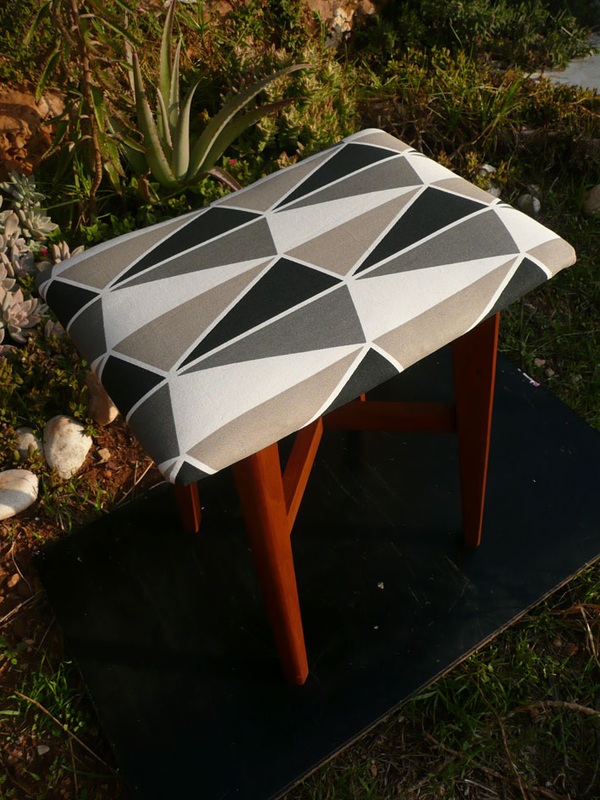
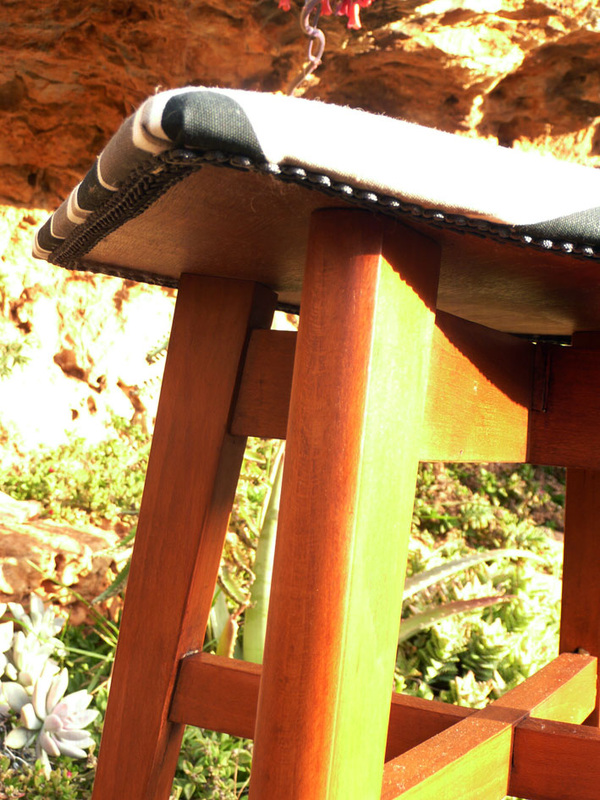
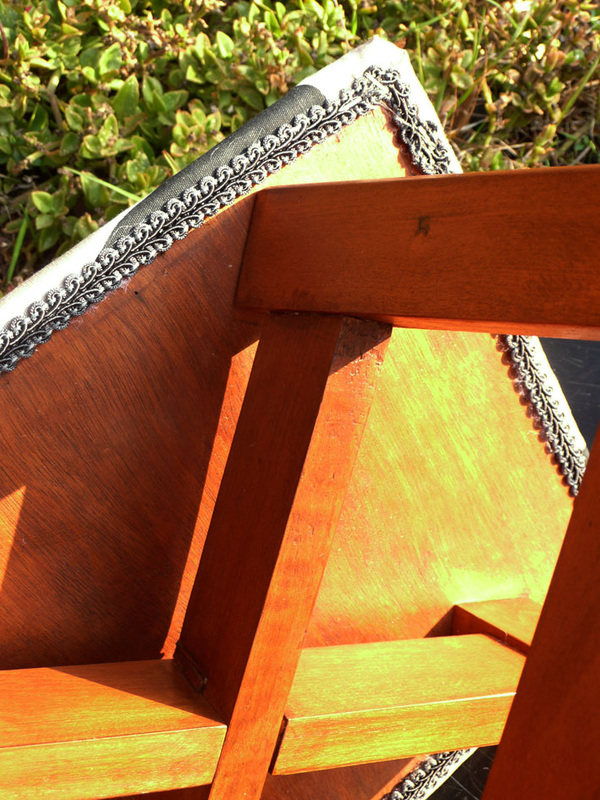
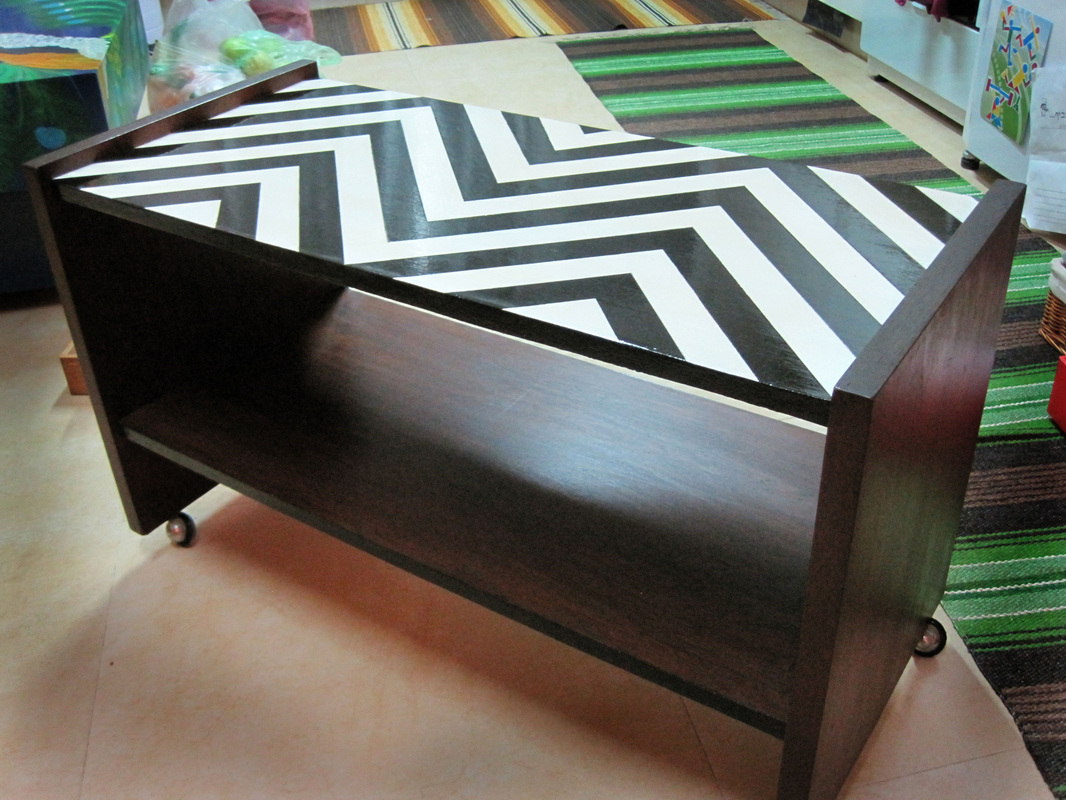
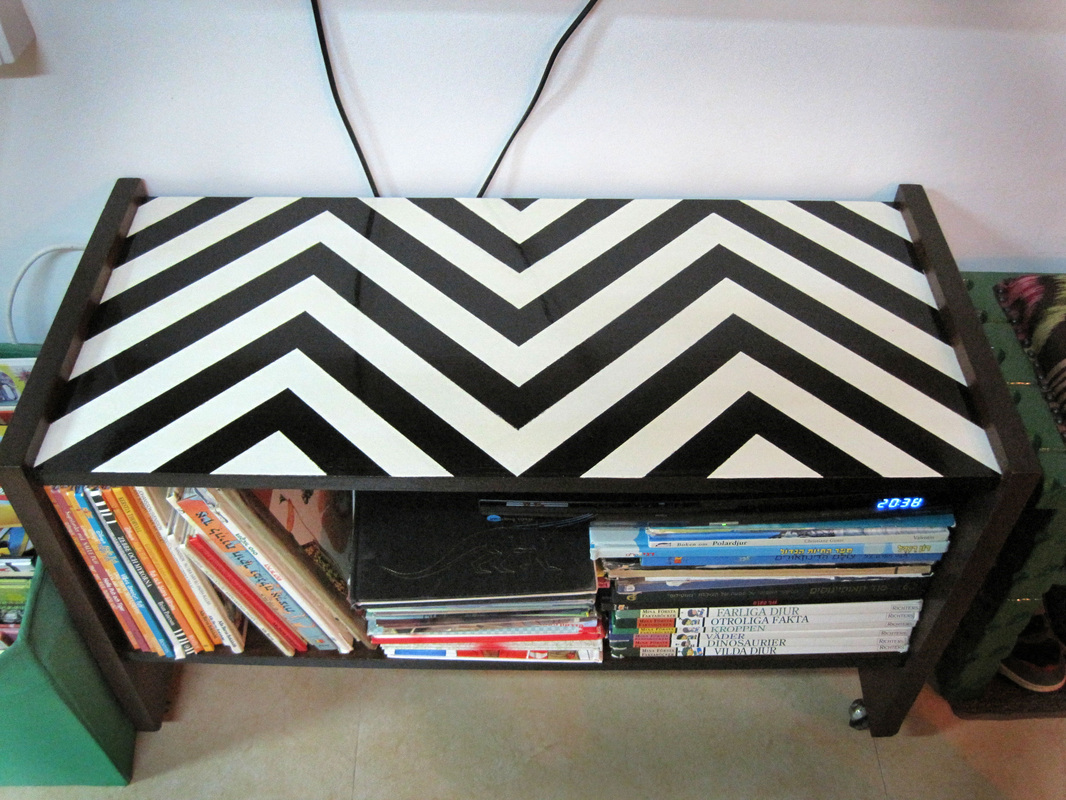
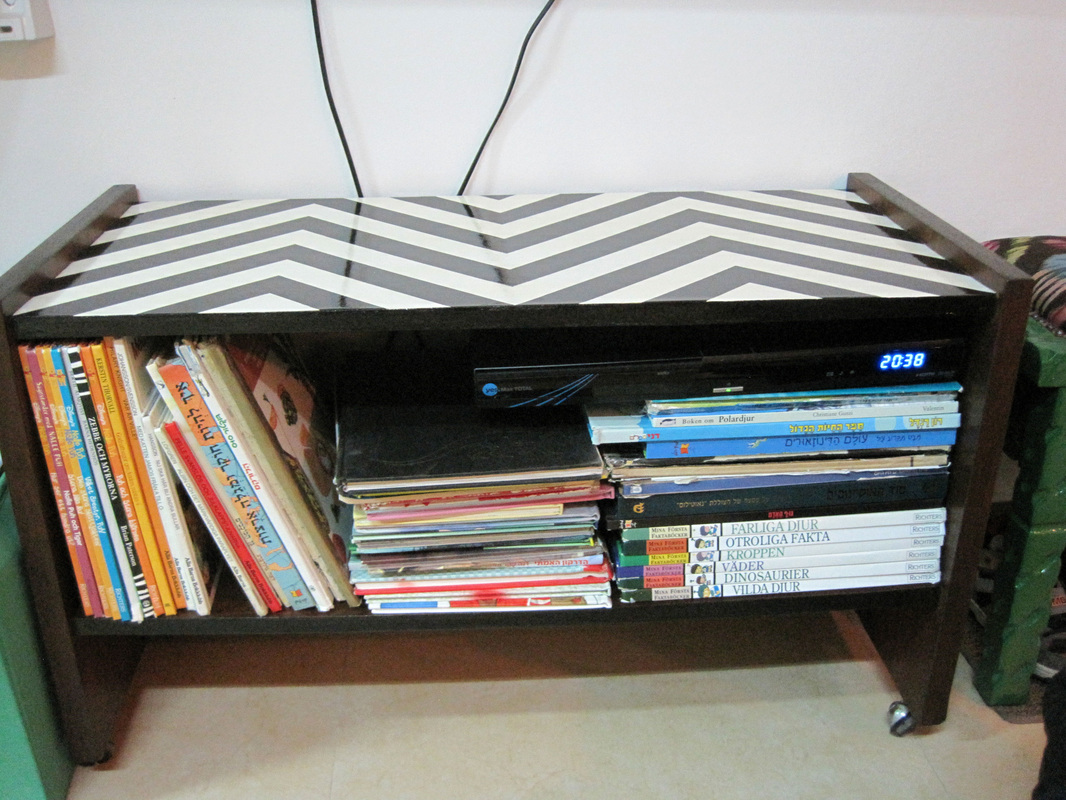
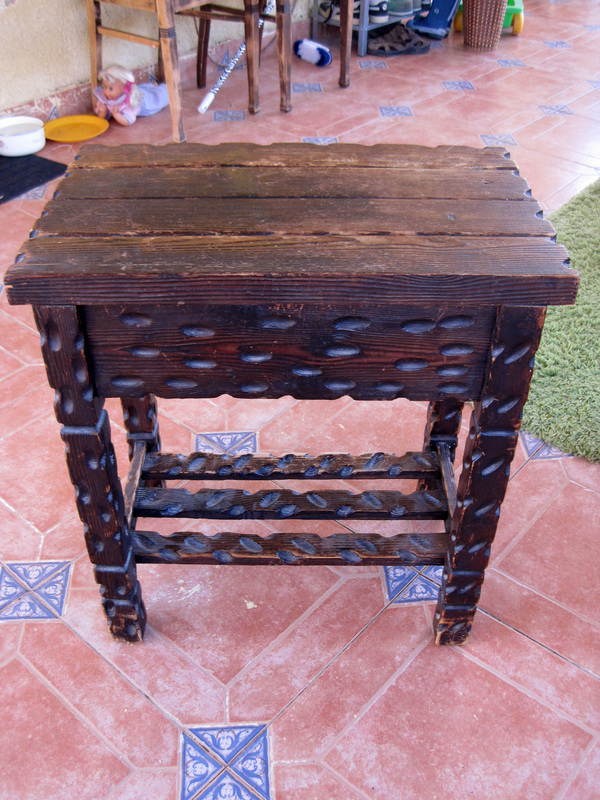
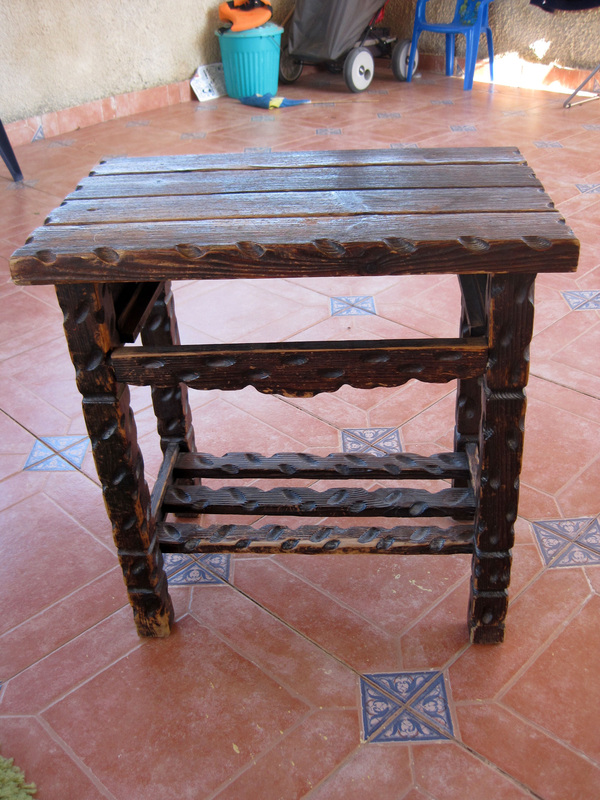
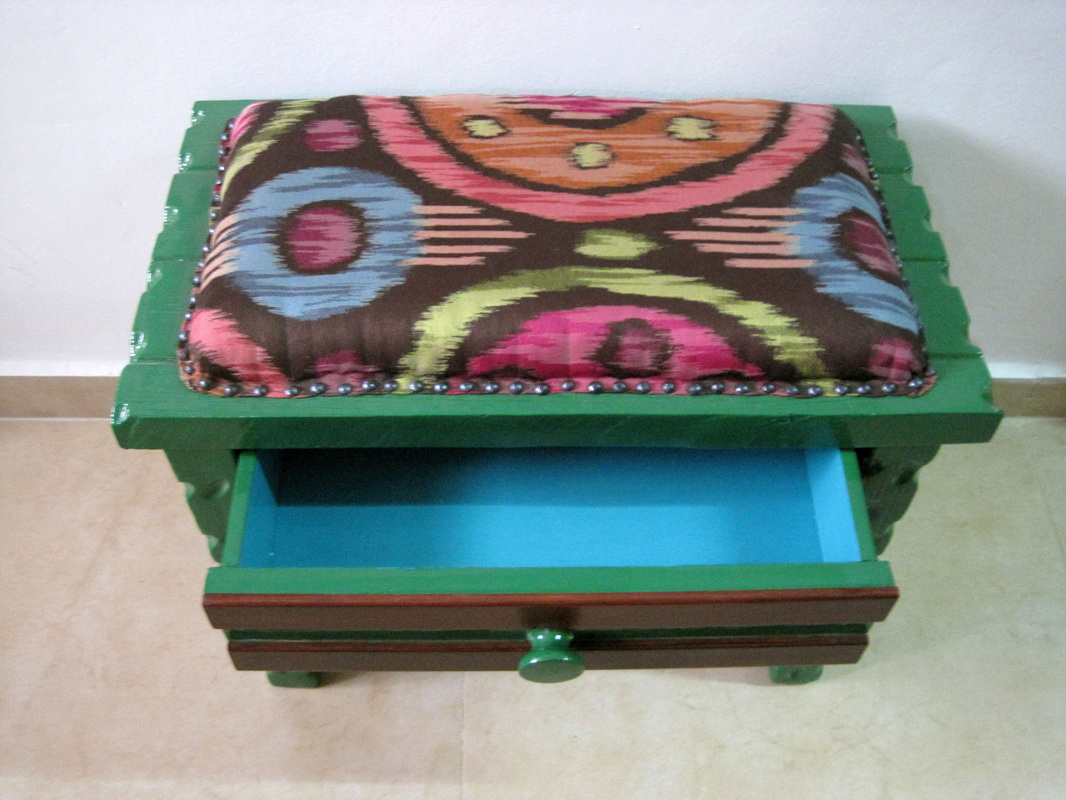
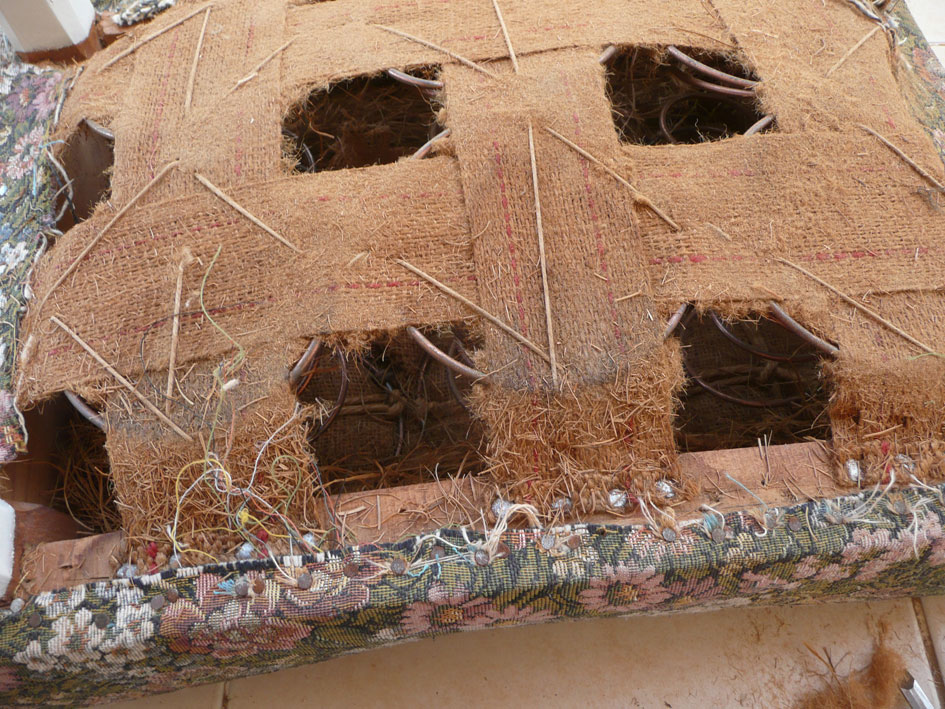
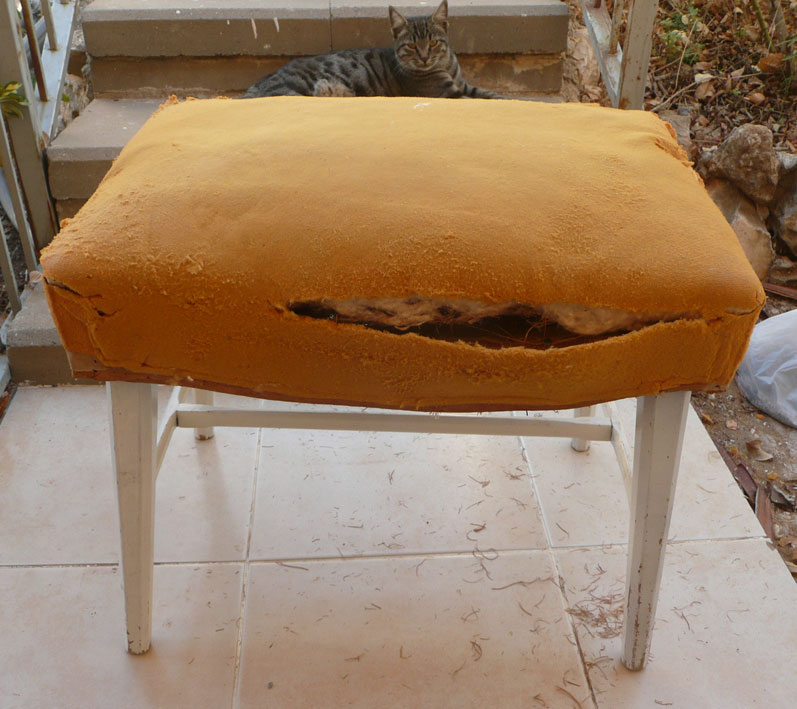
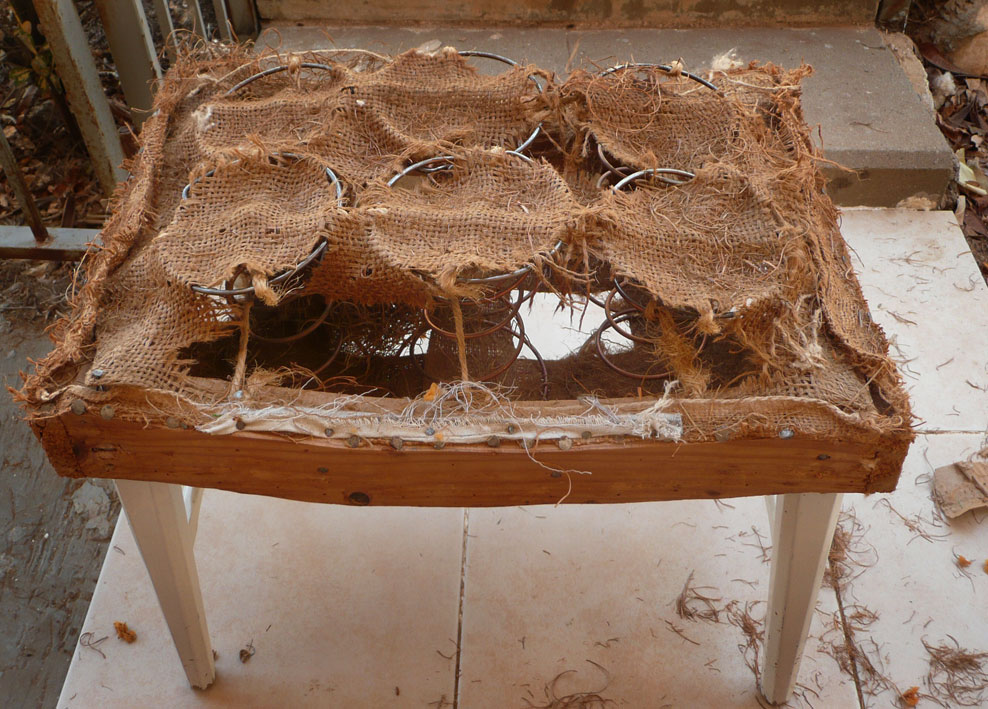
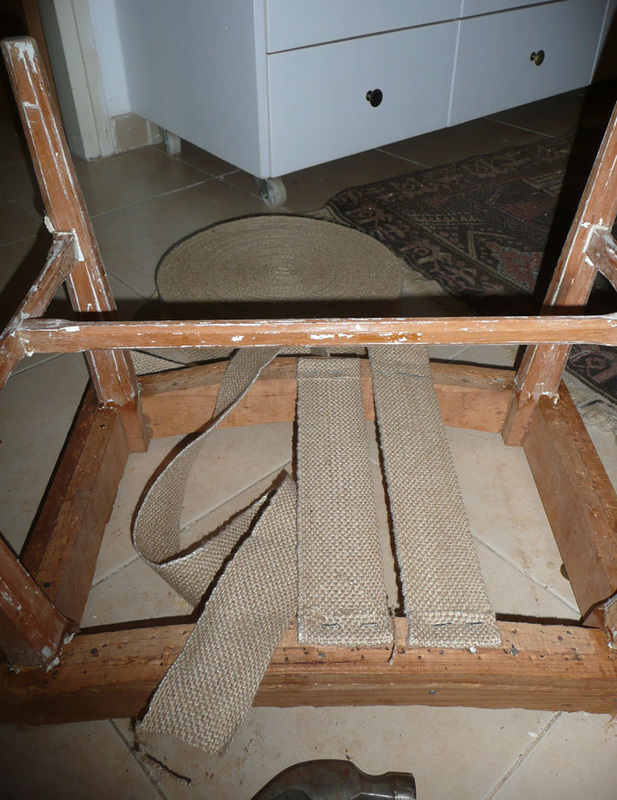
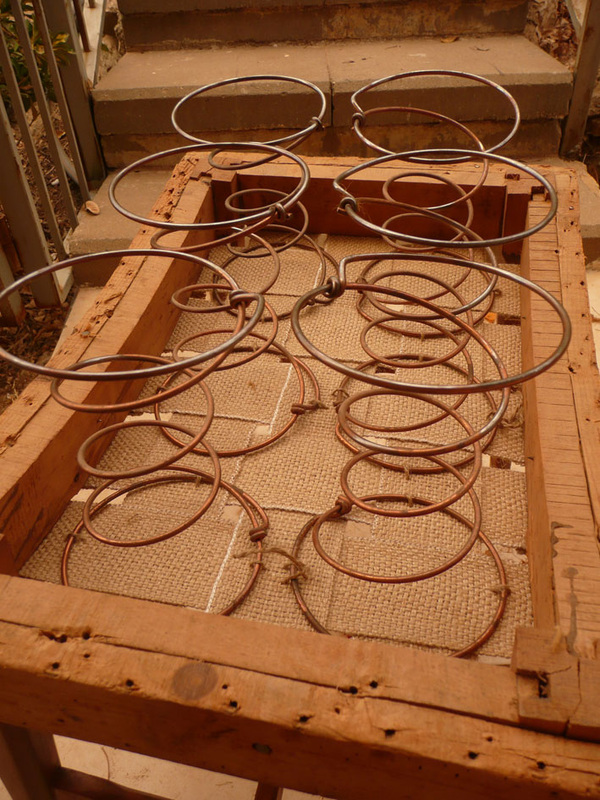
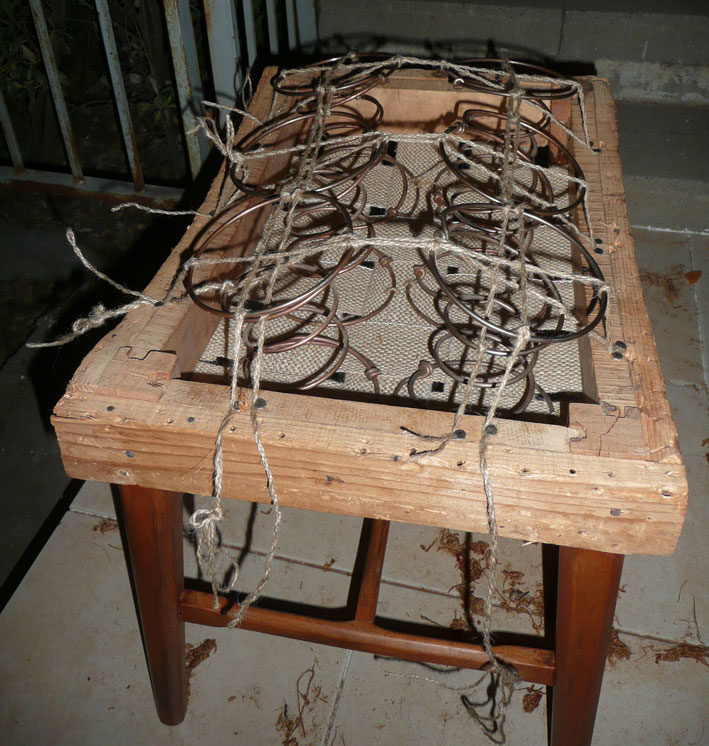
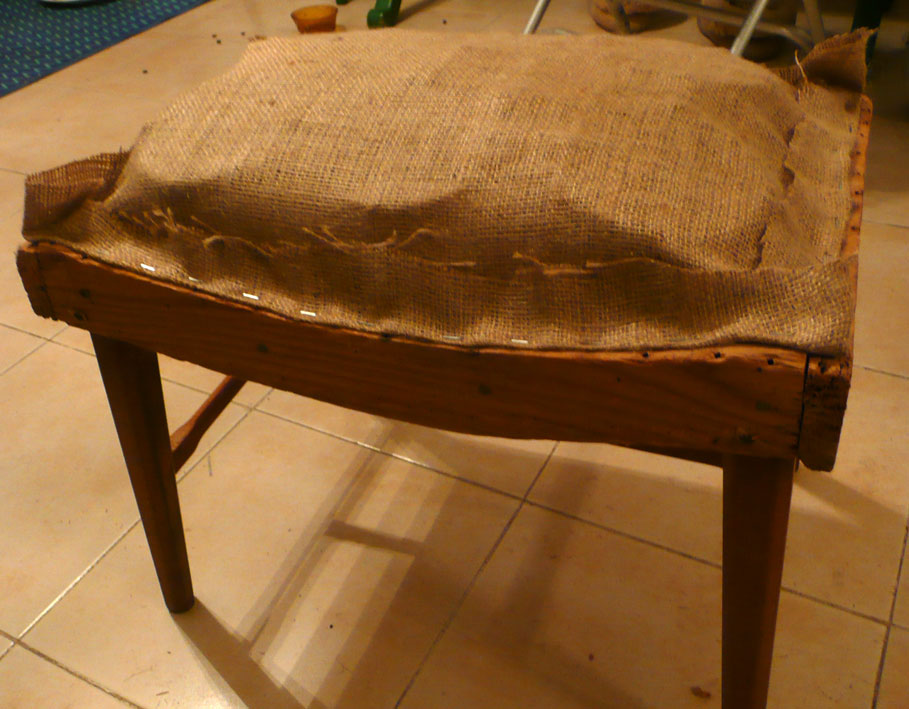
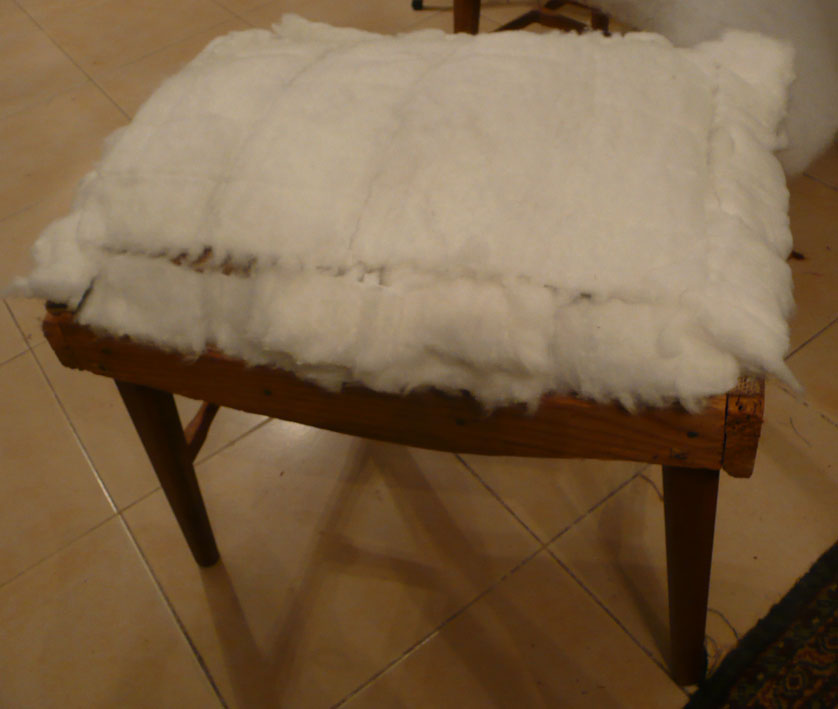
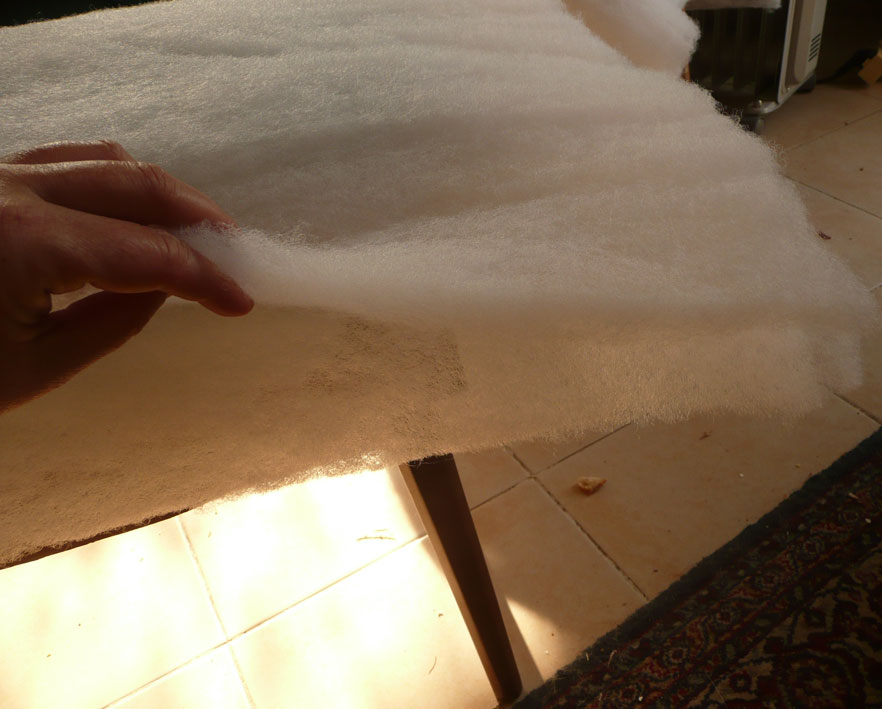
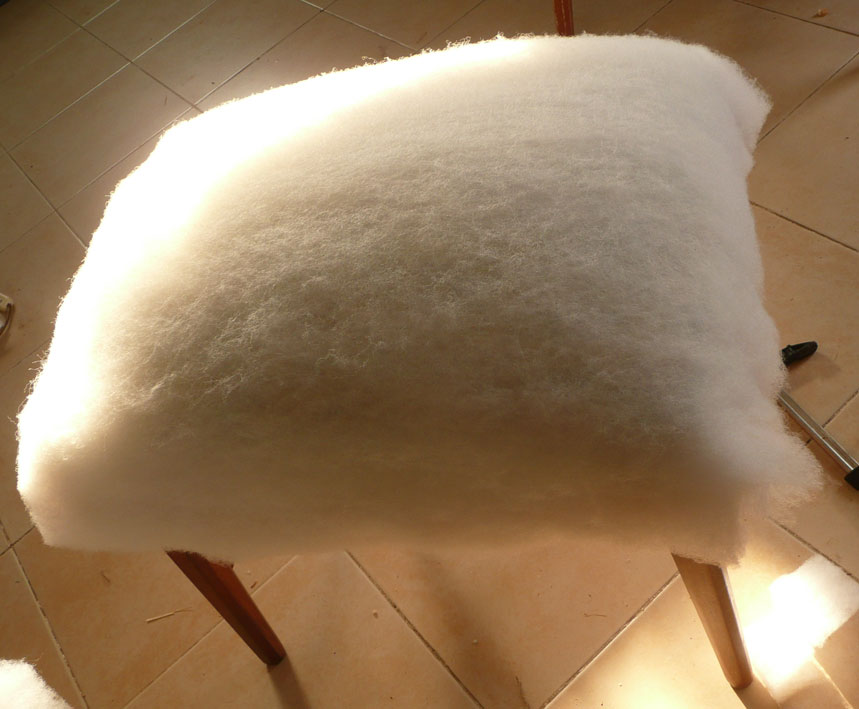
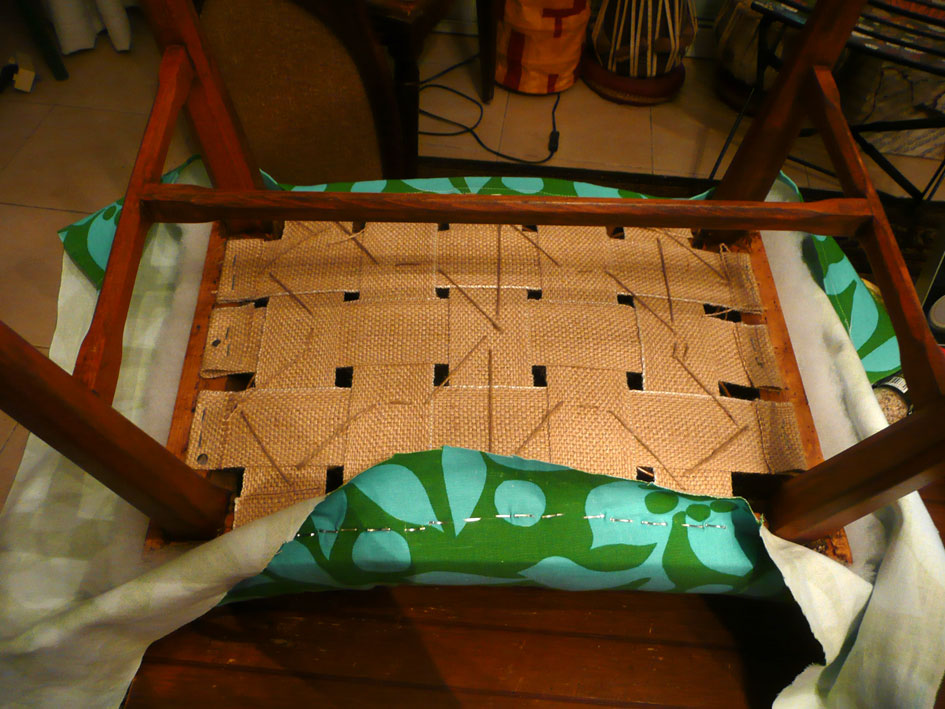
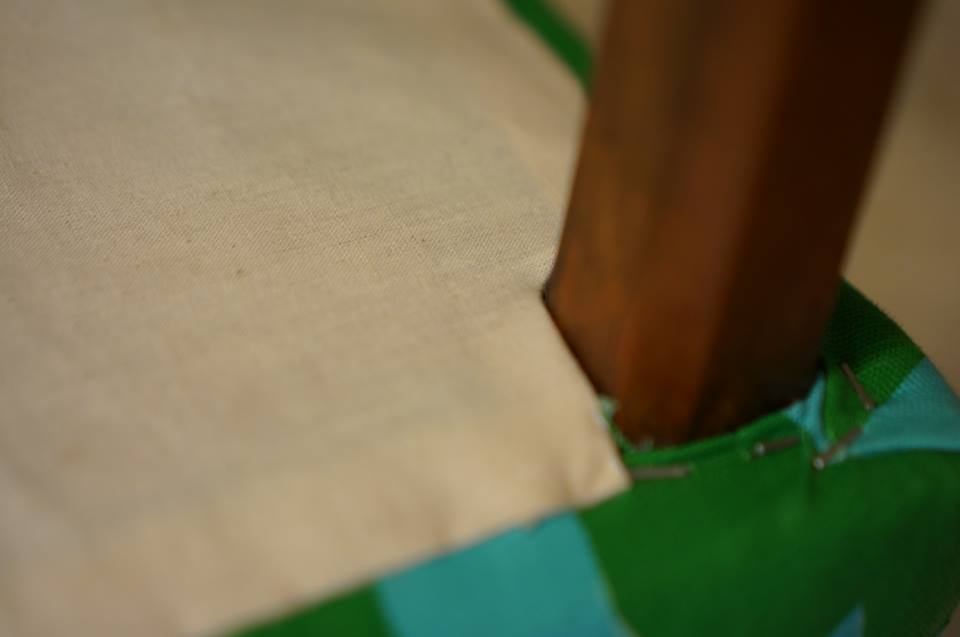
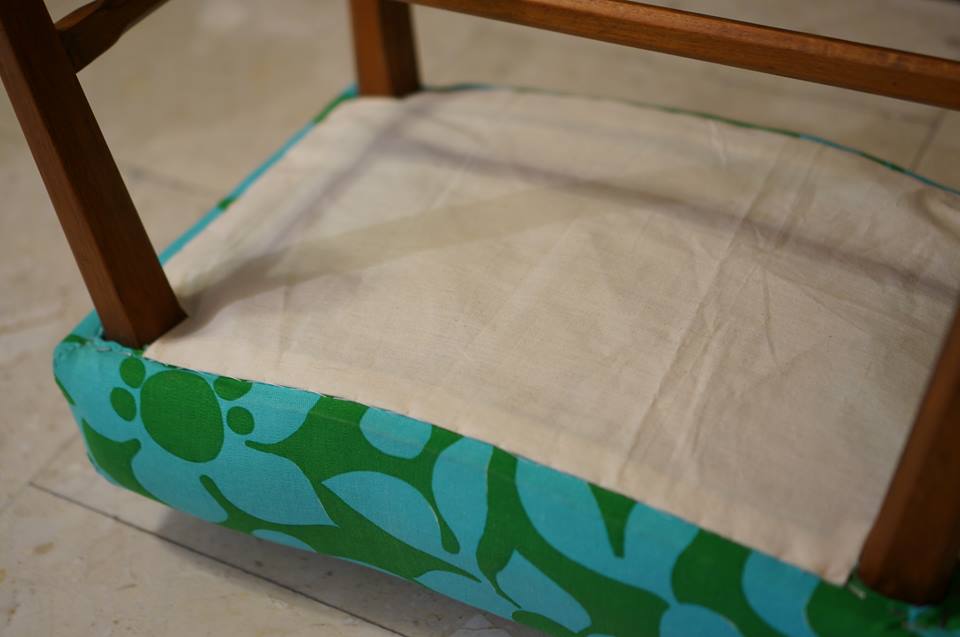
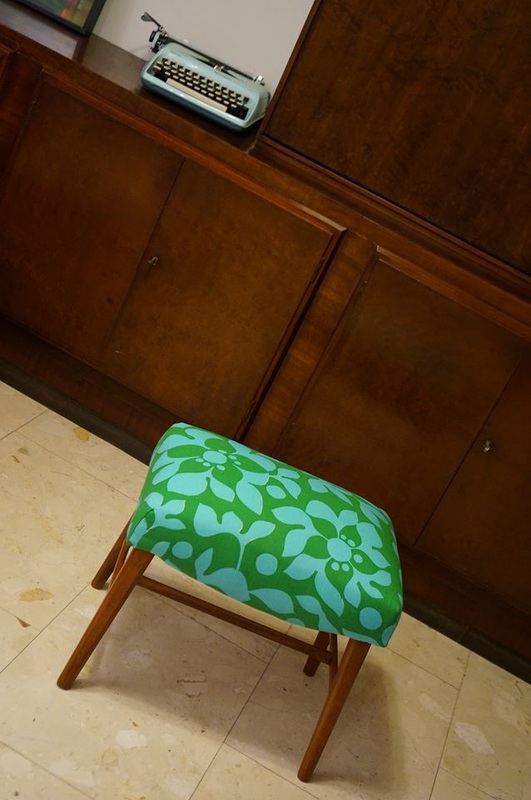
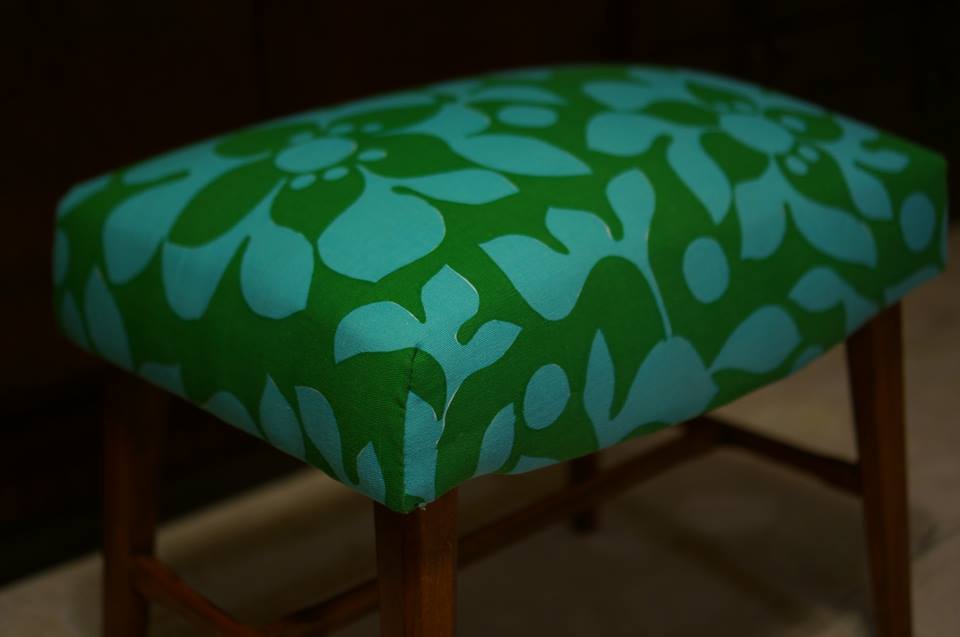
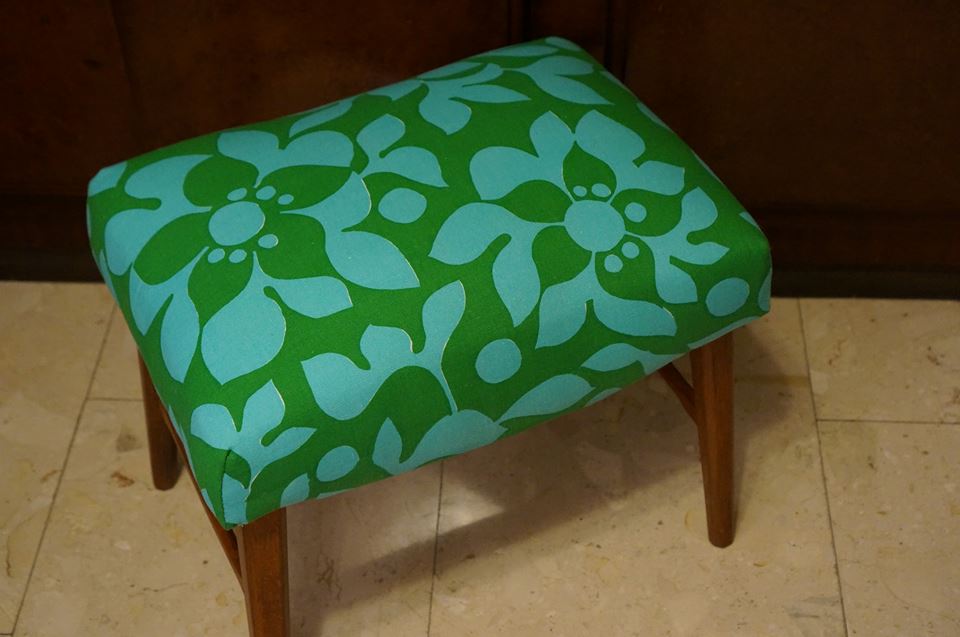
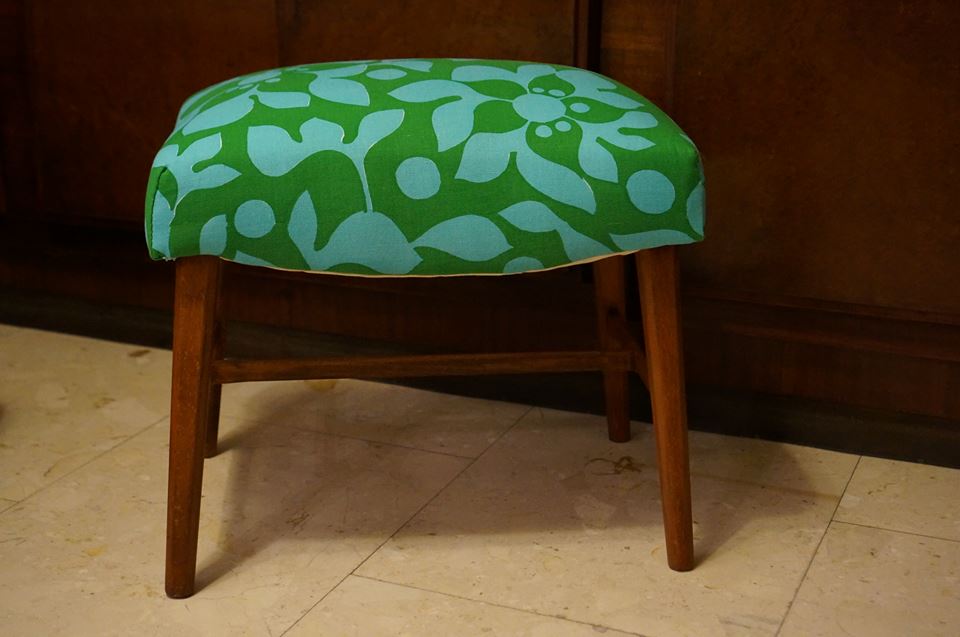
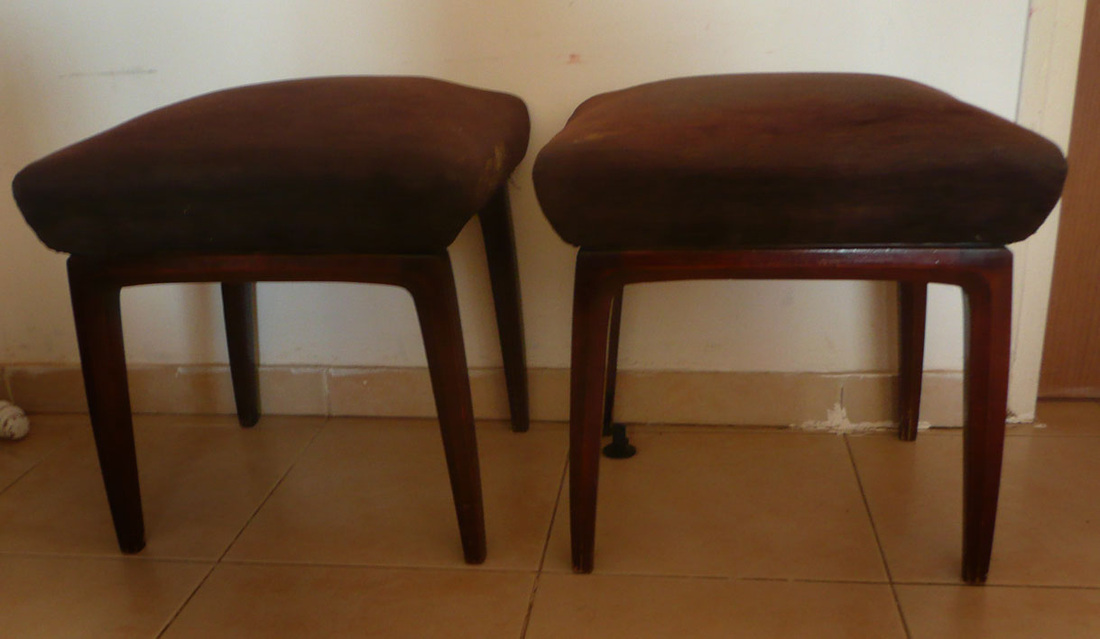
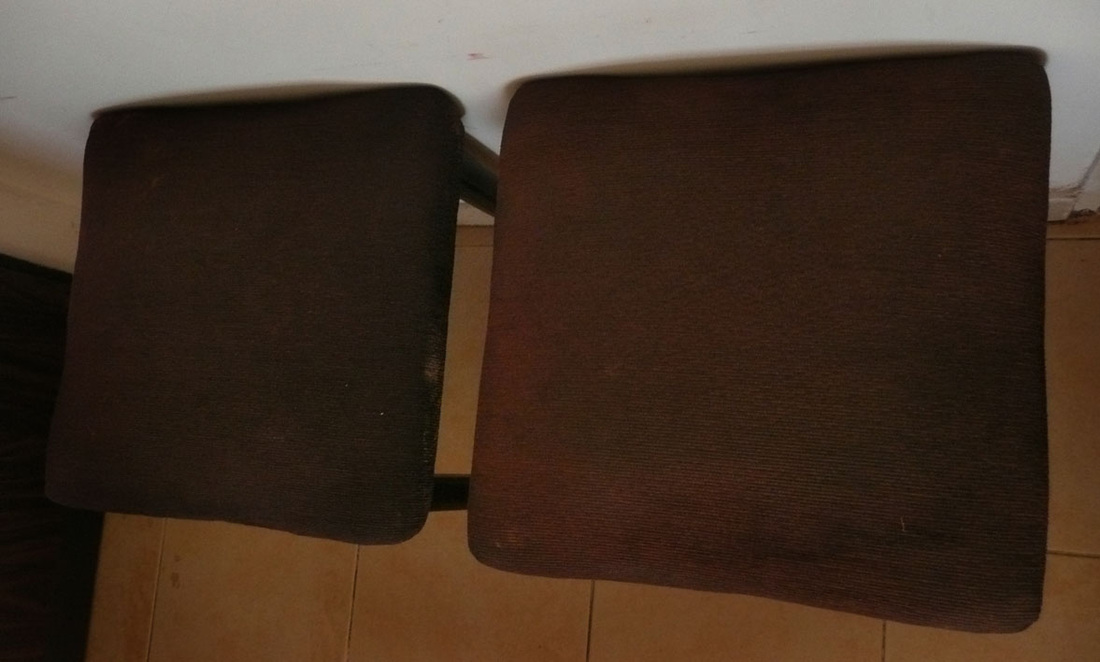
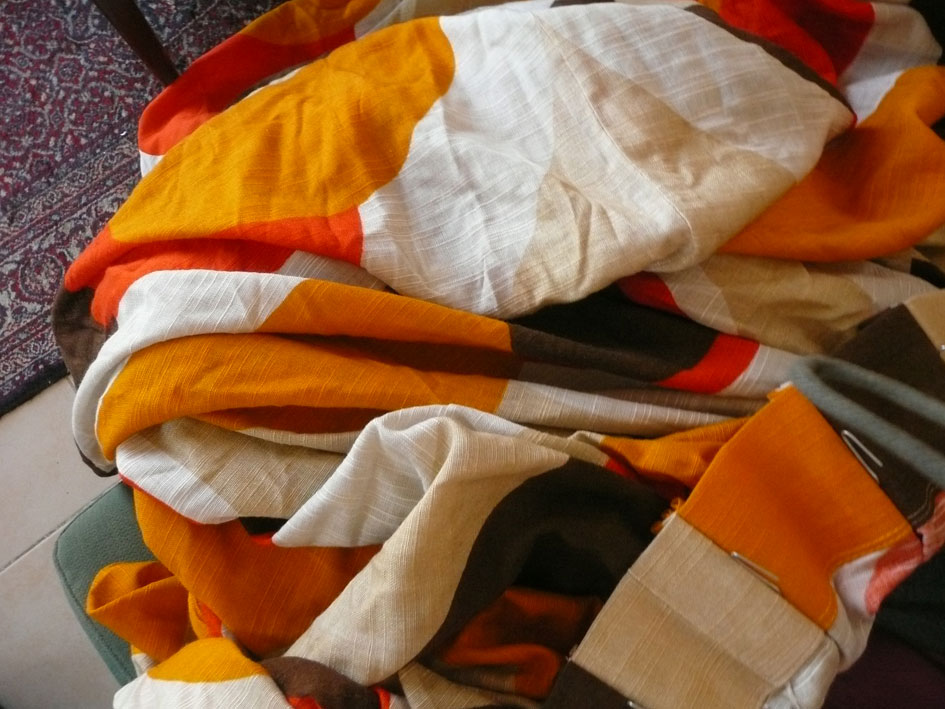
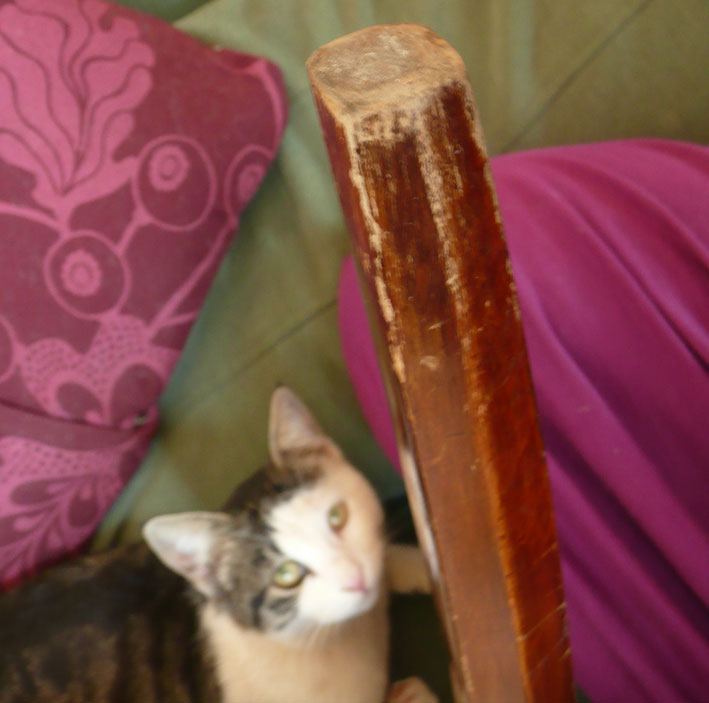
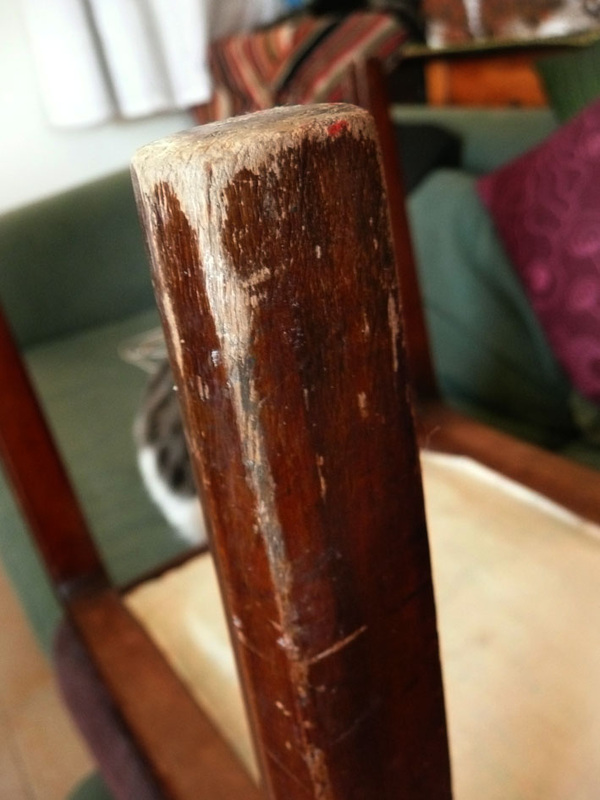
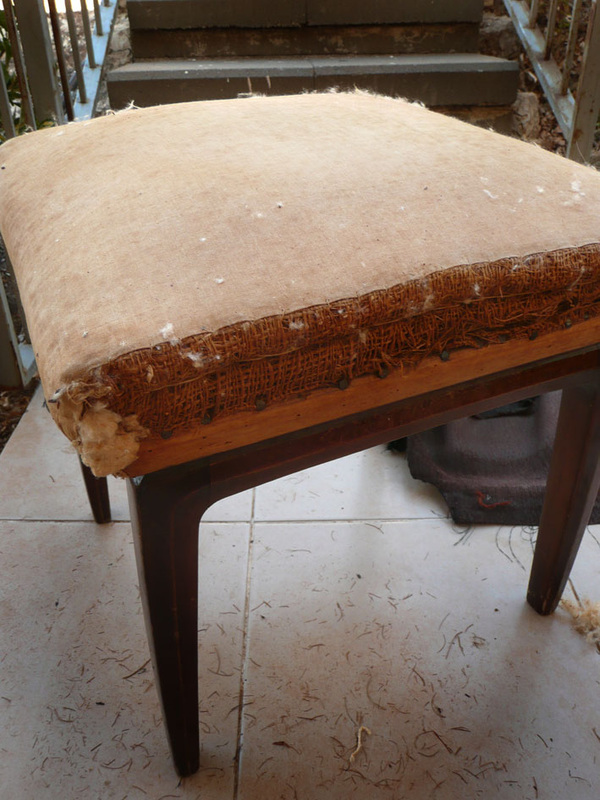
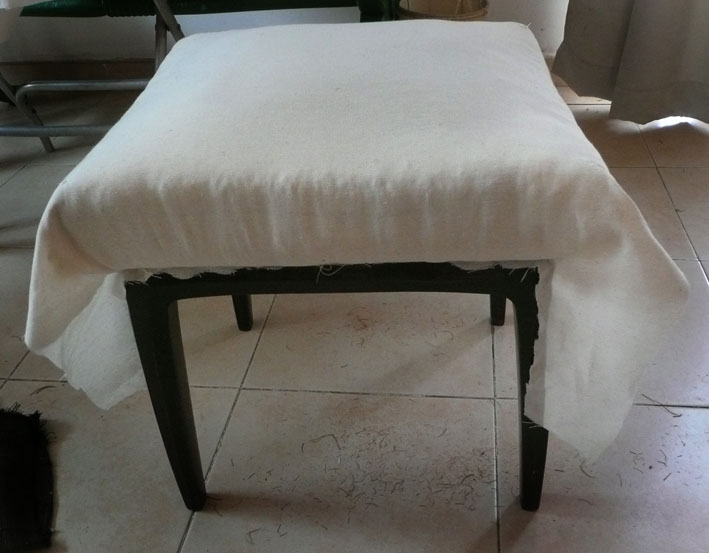
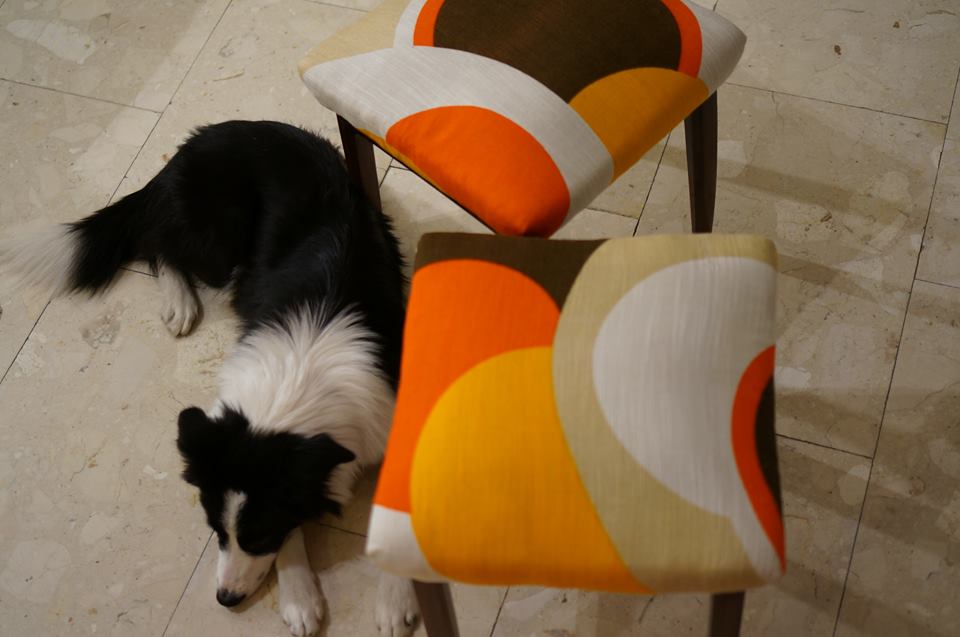
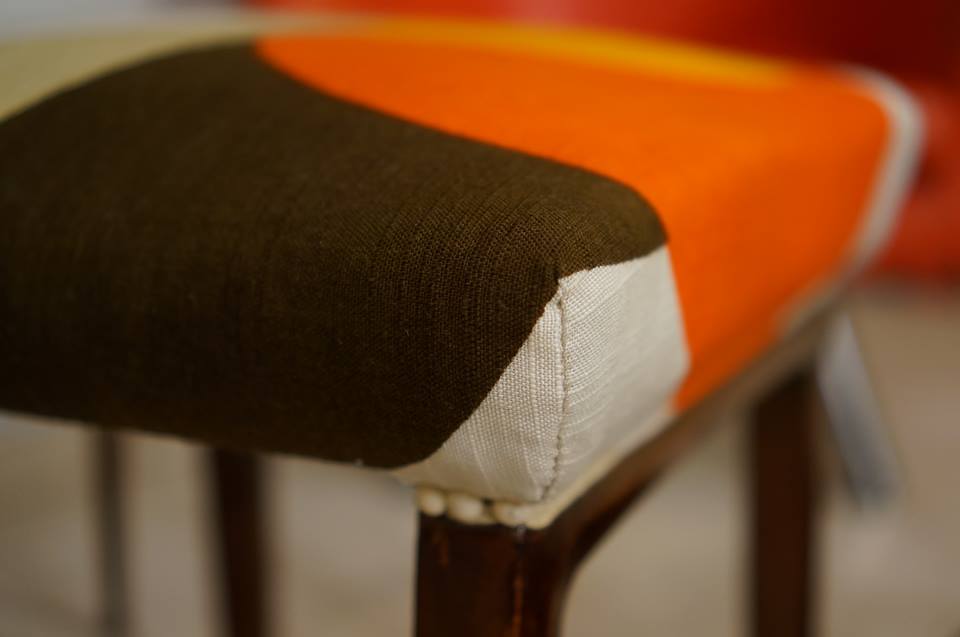
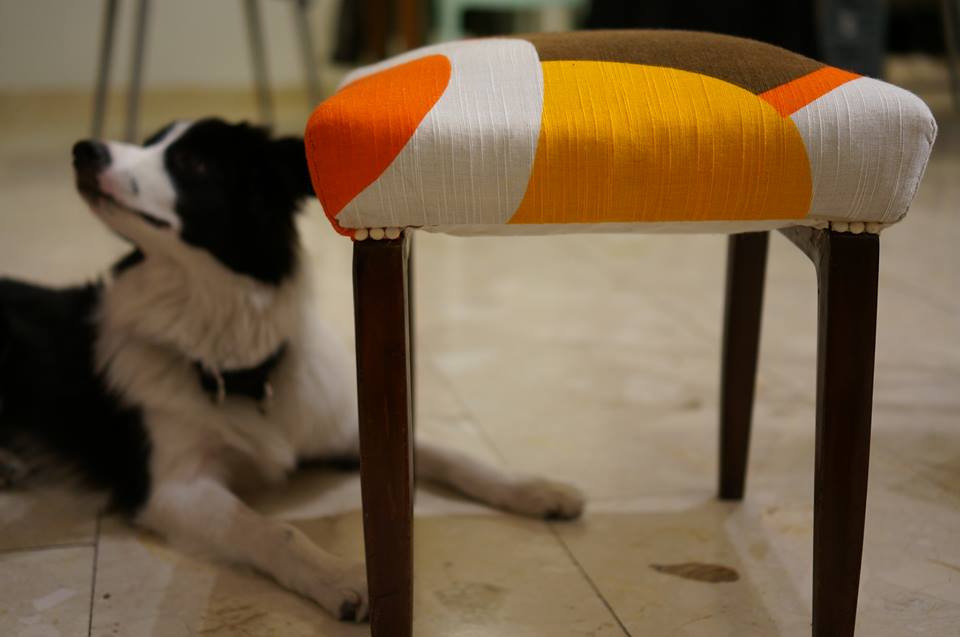
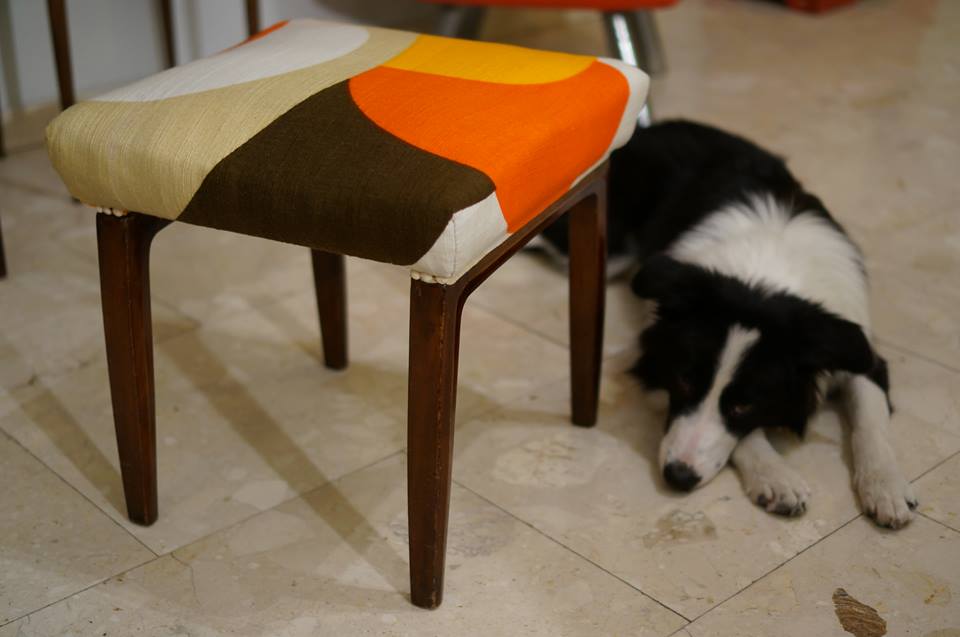
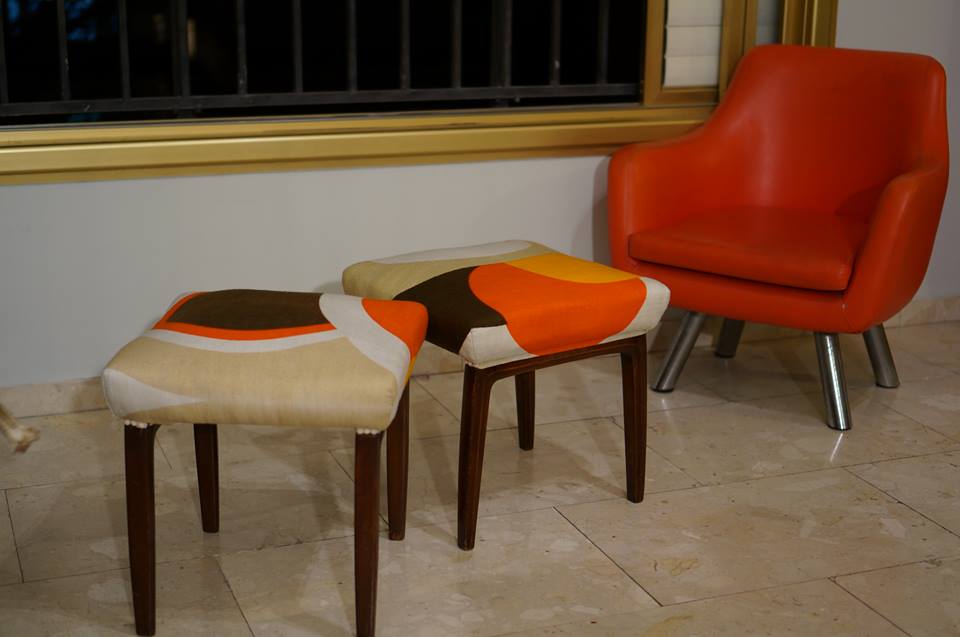
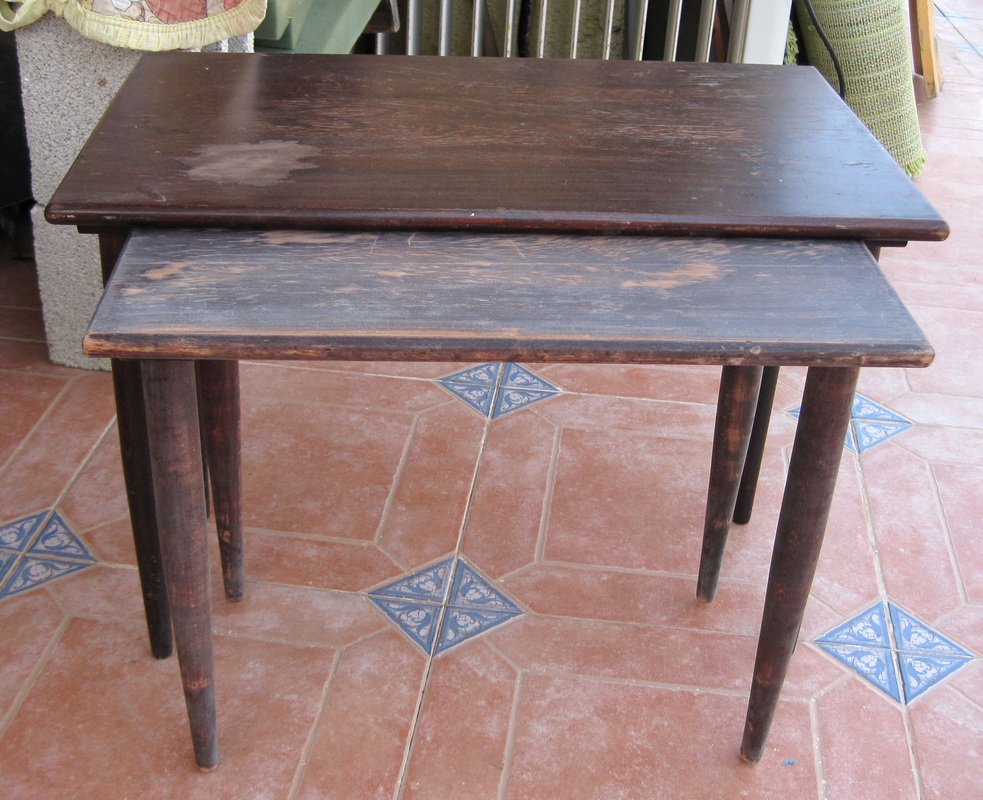
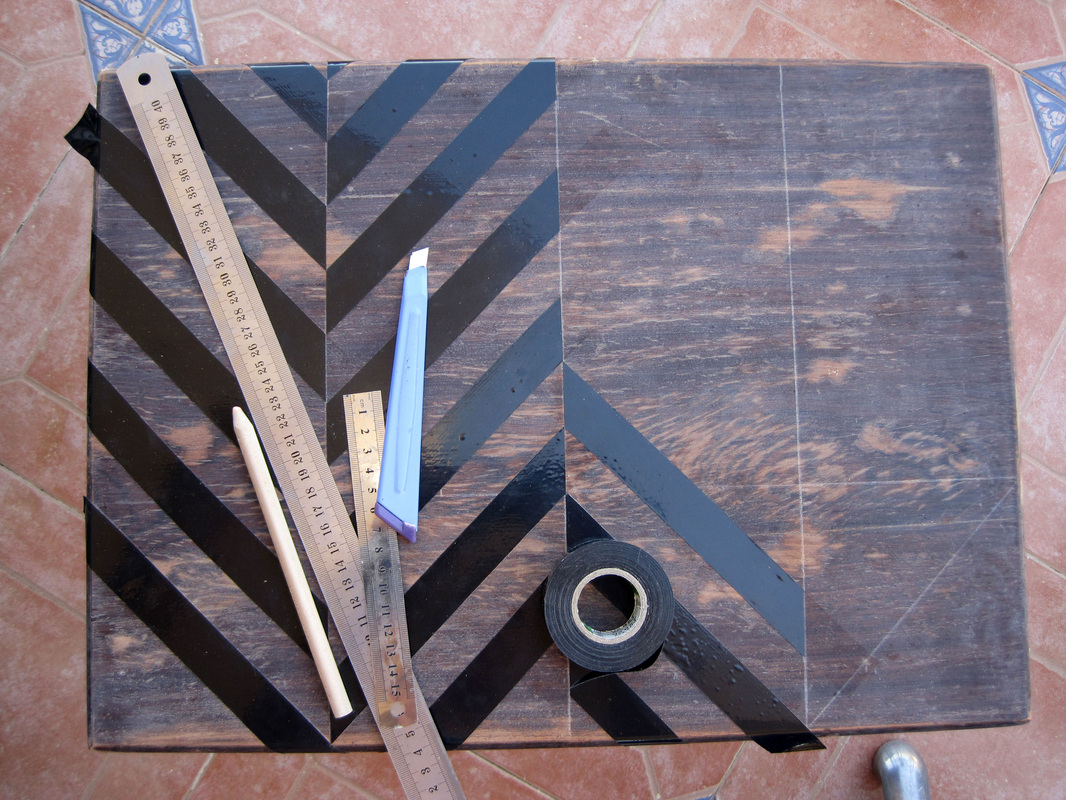
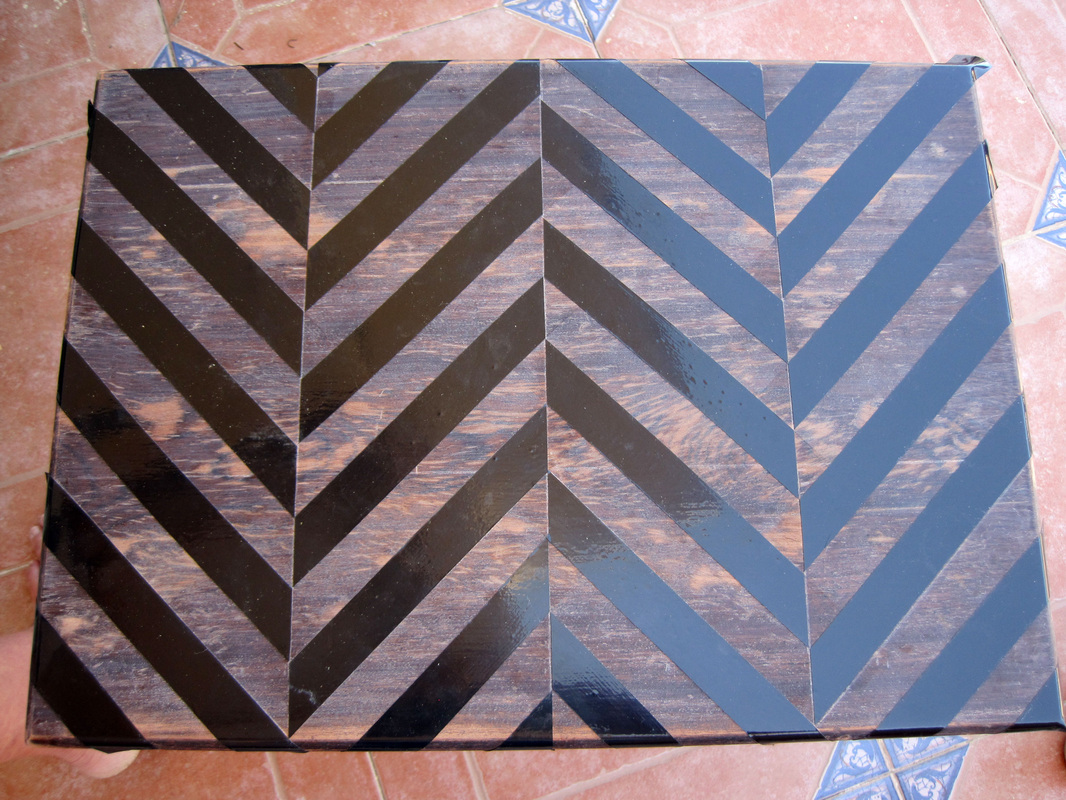
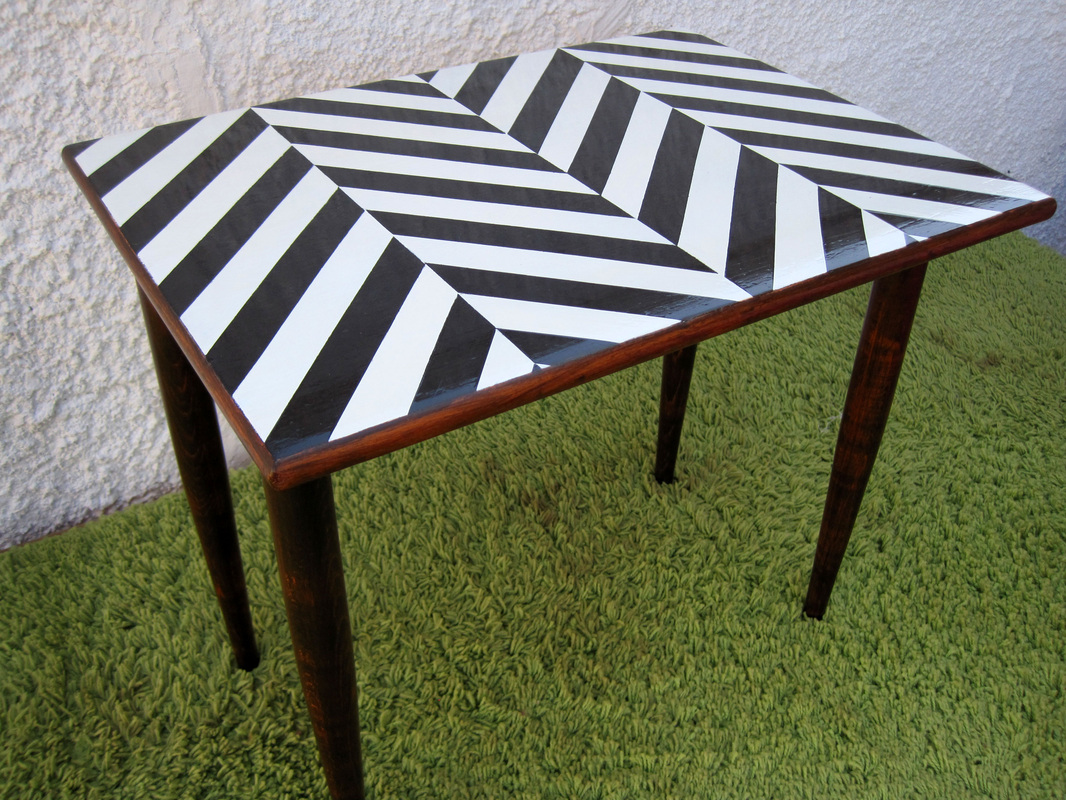
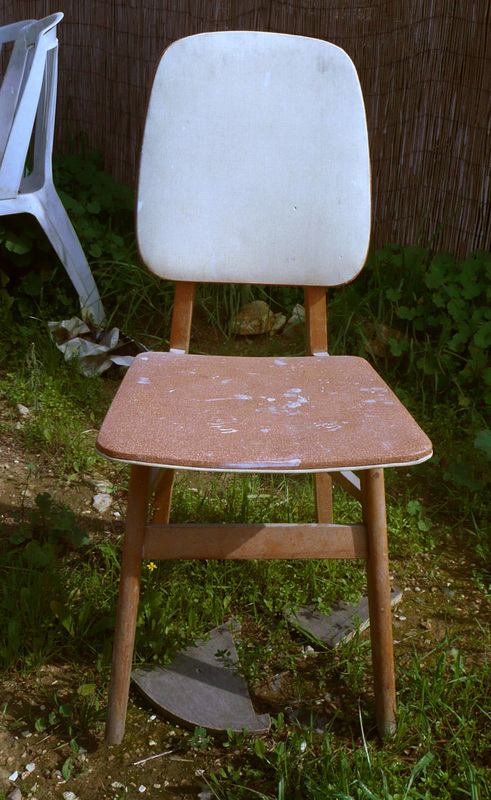
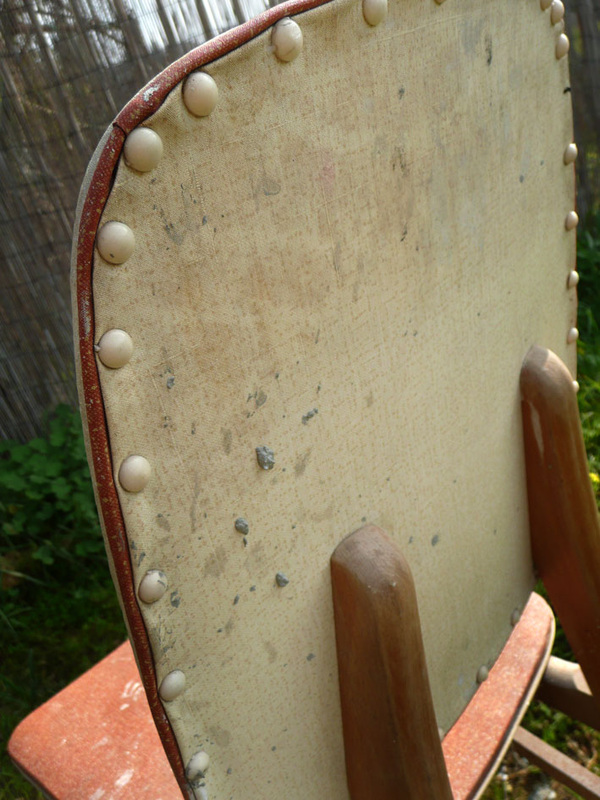
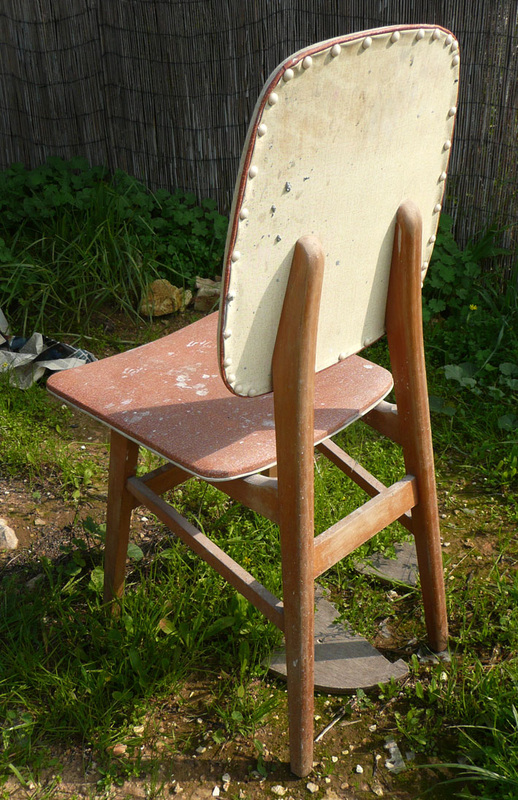
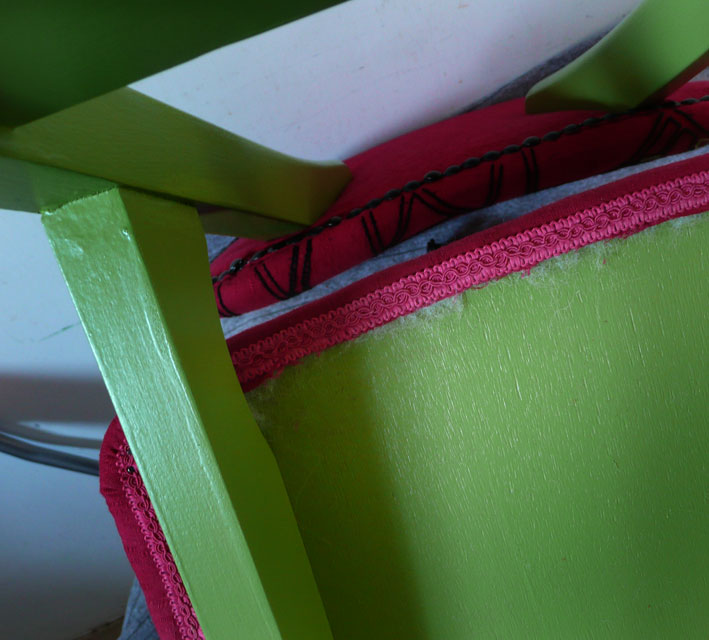
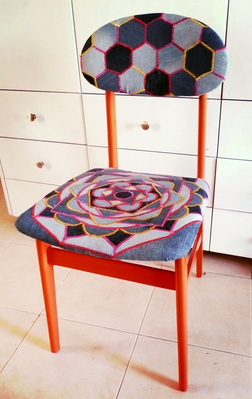 When I moved to this country I dropped everything and for a long while (it took time to get permits etc) I didn't have a job. So living off just my meager savings, half a salary (my partner was a student) and my in laws, we did not have much money to go around. Actually we had no money at all. Unfortunately around this time my partner's friends all started to get married and as the custom here is to give the married couple a check to "start their new life" (and pay for the huge party), we had a problem. We decided that we would create something together (music and art) and give the married couple a gift instead. But the task drowned when the number of married friends became so large that we didn't know where to begin and how to end. Then our friend Sarai found a chair on the street and with no idea on how I should redo it, I took inspiration from her life and made Sarai's Tel Aviv Chair - it became their wedding gift. Shortly thereafter Sarai gave me another chair and I decided to make it into a theme. This chair is for Adi and Michelle. Michelle's favourite colour is orange - thereof the legs. They both love all night parties and India - thereof the "Mandala" created by casual jeans scraps with the trance colours of orange, pink and red. The back rest is also made from jeans cutoffs and shaped after the hexagon pattern on a football (soccer ball) since Adi is a huge fan and a sports journalist. I hope they will enjoy it. At the moment there are 3 other chairs in the process of becoming wedding gifts... 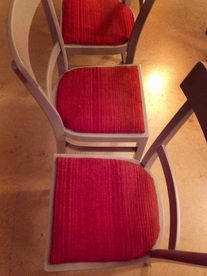 Caroline: A little while back I got a slightly odd request. Someone wanted me to attach soft seats to some kitchen chairs. I suggested getting some cushions - you know the type that ties onto the back or legs - but in this case the person wished to have the soft cushions attached to the seats permanently. I met with them and it turned out that because of illness it was hard for them to sit on hard chairs without sliding off. So I understood the need. The person also had a strong wish as to HOW the seats would look and gave me two old cushions that they wished to use as material. The cushions were quite small so I couldn't take the easy way out and wrap the material around the whole seat. Instead I had to devise small seats that were attached and try to hide the staples underneath. After twisting the problem around in my head for a while I figured out how to do it neatly. It took many hours of getting the tiny piece of fabric to fit and hand stitching but in the end it turned out quite nice and comfortable. Here are a few pictures: 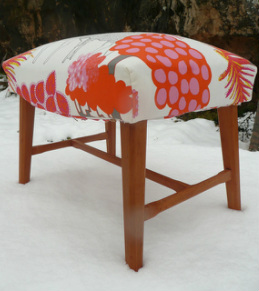 Caroline: A couple of weeks ago we had snow, an amazing amount of snow and it stayed for quite a while. I took the opportunity of being boarded up inside to finish some odd jobs - in other words 3 little stools. Shrafraf in Hebrew, my new favourite word. I am hoping to sell 2 of them to pay for my lovely sander that I bought a while back. Let me know if you are interested. Click on a picture below to enlarge and scroll through the gallery:  Linnéa : Got this table a long time ago and it has been used as a side table until now. I really like simple Art Deco patterns and wanted to have one table with this for myself. I painted the pattern, doing the same procedure as with the other tables but before that I had to sandpaper it. I painted the edges black and covered with lacquer and the rest I stained with a mixed stain: nut and mahogany. The wheels I kept for now and just cleaned them. Finally I could get rid of the long horrible IKEA table that we had used as a table for the children books in our living room and put this new one there instead. It is much smaller and definitely more beautiful than the old one.  Linnéa : A long time ago I got a very ugly side table that was missing its drawer. I didn't like the height of it so the first thing I did was to cut the legs and after sandpapering, I painted it green. What we really needed in the house was a stool where you can sit and put your shoes on. So I made a seat with an exclusive fabric called " Satara ", to make the stool look a little more chic. I nailed it to the wood with tacks and after that nothing more was done for some months. The reason was the drawer! I just couldn't find a good one that fitted and in the end I just made one out of a old drawer that I had to undo and redo completely! And finally we have a stool standing next to the front door and spreading a little indian light ( Satara = city in India Maharashtra ). 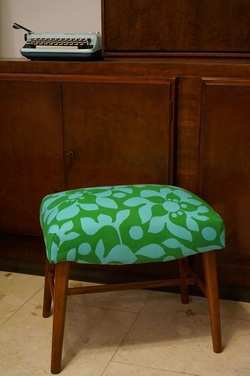 Caroline: As requested here is a step by step guide of the process of redoing a stool. Most of the text you will find under each photograph. I just want to say that I have discovered that the world of upholstery is amazingly stimulating and fun! All the different layers and the seat springs that in this case have been hand made by someone at least 70 years ago are beautiful. Click on one picture to see the gallery and step by step guide: 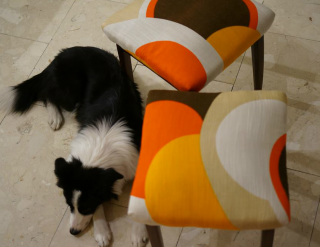 Caroline: This was a commissioned job, to reupholster 2 stools from the beginning of the last century. The clients had an old curtain from the 70's that they wanted me to use and it turned out great. Click on a picture in the gallery below to get details of each step of the transformation from brown, dirty corduroy stools that melted into the background, to happy colourful stools that make a statement. Thank you Yaron for taking the beautiful 'after' pictures and thank you Khaleesi for posing so nicely! 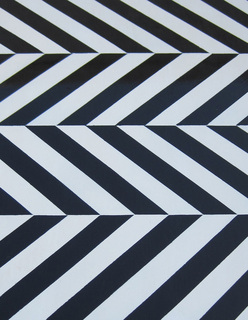 Linnéa : Sometimes you just cannot find the inspiration to get started with a new project. Sometimes you have to wait for it to come. Sometimes you need to look for it in magazines or in the internet. Sometimes you´ll find a new chair on the street and sometimes your very good friend gives you new project! And this is what happened. Caroline came over one day with two old coffee tables as a gift. I guess she felt that I needed something new. From the beginning there were three actually, but one got lost on the way. When I saw them, my inspiration kicked in. I knew that I would do some kind of Art Deco pattern on the top and started to look for it on the internet. Below you can follow the work process step by step! 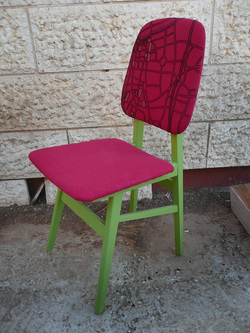 Caroline: This chair was found on the street by my wonderful friend Sarai, she is an author and writes about Israeli life in Tel Aviv and in India. So what better than a chair about Tel Aviv on pink Indian cotton fabric? Since the chair was beyond restoration - it was splattered with paint and dark oil had penetrated the wood - I had to paint it. I chose another extreme colour to match the already screaming pink. Perhaps I was thinking of the strong colours of India or perhaps I just felt more colourful than bland that day. I embroidered the back rest with a map of northern Tel Aviv, the green outlines are buildings - of where Sarai and her lovely husband Roy live and some of our mutual friends. The 2 thicker lines on the right side is the Ayalon motorway and up top you can see the blue outline of the Yarkon river. The large roundabout is Kikar HaMedina (Square of the Nation) and slightly below it to the left is an empty rectangle which is Kikar Rabin (Rabin Square). Click on a picture below to see larger pictures of the chair before and after. |
Linnea & Caroline2 foreigners in Israel trying to find their space. Up-cycling furniture and clothes for a better environment and future. Check us out on Instagram:
|


 RSS Feed
